Quick Summary
Master your camera settings for street photography with this engaging, comprehensive guide. Learn how to balance aperture, shutter speed, and ISO to never miss a decisive moment on the streets.
Street Photography Camera Settings: The Only Guide You'll Ever Need
Street Photography Camera Settings: The Only Guide You'll Ever Need
Picture this: You're walking down a bustling city street when suddenly, the perfect moment unfolds before your eyes. A businessman jumps over a puddle, his reflection creating a mirror image beneath him. You raise your camera, but by the time you've fiddled with your settings, the moment has vanished into the stream of urban life. Sound familiar?
If you've ever missed a shot because you were wrestling with camera dials instead of capturing the moment, you're not alone. Camera settings can feel like a complex puzzle, especially when you're trying to master them while life rushes by at street level. But here's the truth: once you understand a few fundamental principles, you'll be able to adjust your settings instinctively, almost without thinking.
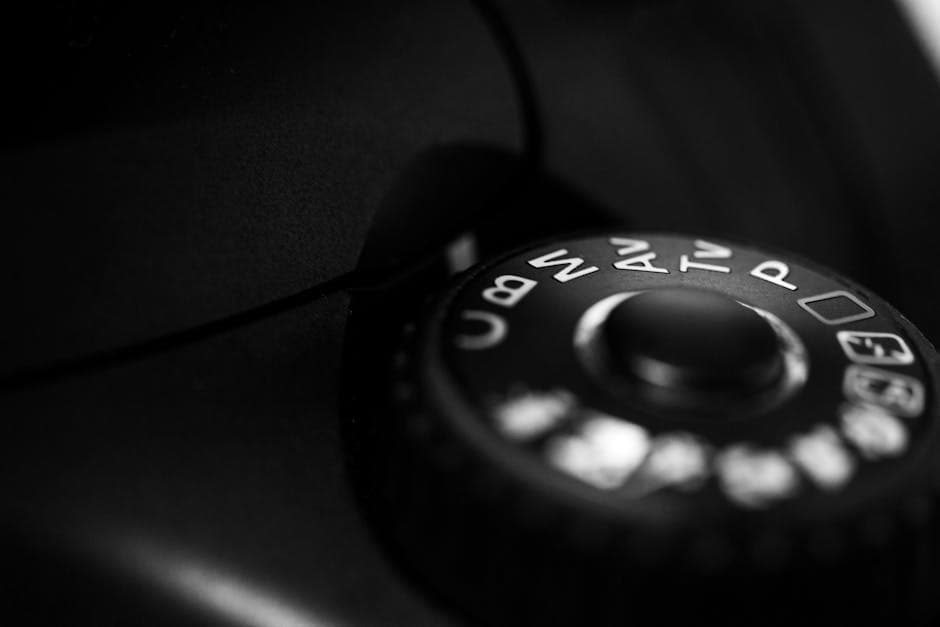
The Foundation: Understanding Your Camera's Triangle
Before we dive into specific settings, let's talk about the exposure triangle—the holy trinity of photography that governs every image you'll ever take. Think of it as a three-way balancing act between aperture, shutter speed, and ISO. Each element affects the others, and understanding this relationship is like learning the grammar of visual language.
Aperture controls how wide your lens opens, determining not just how much light enters but also how much of your scene stays in focus. A wide aperture like f/2.8 creates that dreamy background blur, perfect for isolating a street portrait from a chaotic background. Meanwhile, a narrow aperture like f/8 keeps both your subject and their environment sharp—ideal when the context tells as much of the story as the person.
Shutter speed is your time machine. It decides whether you freeze that skateboarder mid-trick at 1/1000th of a second or let them blur into an impressionistic streak at 1/30th. In street photography, this choice between freezing and flowing can dramatically change your image's emotional impact.
ISO, once the film's sensitivity to light, now controls your digital sensor's amplification. Think of it as a volume knob—turn it up in dark situations, but be aware that cranking it too high introduces noise, like static on a radio. Modern cameras handle high ISO remarkably well, giving us freedom our film-shooting predecessors could only dream of.
My Go-To Settings (And Why They Work)
After years of shooting on the streets, I've developed a baseline that works in most situations. I typically shoot in Aperture Priority mode with my aperture set to f/8, Auto ISO ranging from 100 to 3200, and a minimum shutter speed of 1/250th of a second. Let me explain why this combination has become my street photography foundation.
F/8 hits what photographers call the "sweet spot." At this aperture, most lenses perform at their sharpest, and you get enough depth of field to forgive slight focusing errors. When you're reacting quickly to street scenes, this forgiveness is invaluable. You'll have roughly everything from 6 feet to infinity in acceptable focus, meaning you can shoot fast without obsessing over precise focus points.
The 1/250th second minimum shutter speed serves two crucial purposes. First, it's fast enough to freeze walking subjects without motion blur. Second, it eliminates camera shake from handheld shooting, even if you're slightly out of breath from chasing the perfect angle. I've found this speed works reliably up to an 85mm lens—beyond that, you might need to bump it higher.
Auto ISO might seem like cheating to some purists, but it's actually strategic delegation. By letting the camera handle ISO, you free your mind to focus on composition and timing. Set your maximum to what you're comfortable with quality-wise—for most modern cameras, ISO 3200 produces perfectly usable images.
Adapting to Light: The Street Photographer's Dance
Street photography means working with whatever light the world gives you, and that light changes constantly. A sunny sidewalk can turn into deep shadow as you round a corner, and indoor markets present entirely different challenges than open plazas. Learning to adapt quickly is crucial.
On bright, sunny days, the harsh light that landscape photographers avoid can become your creative ally. Those deep shadows create dramatic contrast and graphic compositions. I often underexpose by about 2/3 of a stop to retain detail in highlights—shadows can be lifted in post, but blown highlights are gone forever. Look for interesting shadow patterns, use building shade for softer portraits, and don't be afraid to let some areas fall into pure black for dramatic effect.
Overcast days are a street photographer's secret weapon. That giant softbox in the sky provides even, flattering light that makes colors pop and eliminates harsh shadows. On these days, I often open up to f/5.6 and bump my ISO to 400-800. The softer light means you can shoot all day without worrying about unflattering shadows under people's eyes.
The golden hour—that magical time just after sunrise or before sunset—transforms ordinary streets into cinematic stages. The warm, directional light creates long shadows and rim-lit silhouettes. During these times, I'll often drop to f/4 or even f/2.8, embracing the shallower depth of field as part of the dreamy aesthetic. With ISO around 800-1600, you can maintain fast shutter speeds while capturing that gorgeous light.
Night Streets: Embracing the Darkness
When the sun goes down, many photographers pack up their gear. But night transforms the urban landscape into something entirely different—neon signs become primary light sources, and ordinary scenes take on a film noir quality. Night street photography requires a different approach to settings.
I switch to manual mode after dark, typically shooting at f/2 or f/2.8 with ISO 3200-6400. Yes, there will be grain, but grain adds character—it's the digital equivalent of those gritty black-and-white photos from the 1970s. I'd rather have a sharp, grainy image than a clean but blurry one.
The key to night shooting is finding pockets of light. Shop windows, street lamps, and illuminated signs become your studio lights. Position yourself where subjects will pass through these pools of light, pre-focus, and wait. Your shutter speed might drop to 1/125th or even 1/60th—practice holding your camera steady, and brace against walls when possible.
Focus: The Forgotten Fourth Element
While not part of the exposure triangle, focus settings can make or break your street photography. The classic technique is zone focusing—a method that predates autofocus and remains incredibly effective. Here's how it works: set your aperture to f/8 or f/11, manually focus to about 10 feet, and everything from roughly 6 feet to infinity will be acceptably sharp. No autofocus hunting, no missed shots.
For those who prefer autofocus, I recommend single-point AF with back-button focus. This separates focusing from shutter release, giving you more control. Focus once, then recompose and shoot multiple frames without the camera refocusing. It takes practice to rewire your muscle memory, but the control it provides is worth the effort.
When shooting moving subjects, continuous AF (AF-C or AI Servo) tracks your subject as they move. Modern cameras are remarkably good at this, but be selective—use it for genuinely moving subjects, not for general street scenes where single AF is more predictable.
Common Settings Mistakes (And How to Avoid Them)
The biggest mistake I see is photographers afraid of high ISO. They'll shoot at ISO 100 with a shutter speed of 1/60th, resulting in motion blur and camera shake. Remember: a sharp photo at ISO 3200 beats a blurry photo at ISO 100 every time. Modern sensors are remarkably clean at high ISOs—use that capability.
Another common error is always shooting wide open. Yes, that f/1.4 lens creates beautiful bokeh, but on the street, context matters. The environment tells part of your story. Unless you're specifically isolating a subject, consider stopping down to include environmental elements that add narrative depth.
Many photographers also forget about exposure compensation. Your camera's meter can be fooled by backlighting, bright skies, or dark clothing. Learn to quickly dial in compensation—I find myself using -2/3 stop frequently to preserve highlight detail and create moodier images.
Camera-Specific Considerations
Different camera systems have their quirks and strengths. Fujifilm shooters can leverage the film simulations—I particularly love Classic Chrome for its muted colors that complement urban environments. Set your dynamic range to DR400 for maximum flexibility in high-contrast scenes.
Sony users should explore the extensive customization options. Set up your function buttons for quick access to ISO and focus modes. The eye-detection AF is remarkably good for street portraits—use it when you have time to engage with subjects.
Canon and Nikon DSLRs might be larger, but they offer incredible battery life and proven reliability. Their optical viewfinders work in any light and never lag. Use the physical controls to your advantage—you can adjust settings by feel without taking your eye from the viewfinder.
Micro Four Thirds shooters shouldn't feel limited by sensor size. The smaller sensors actually provide more depth of field at equivalent apertures, making zone focusing even more effective. Cameras like the Olympus OM-D series also offer incredible stabilization, allowing handheld shots at surprisingly slow speeds.
Finding Your Personal Settings Style
While I've shared my preferred settings, the beauty of photography lies in personal expression. Some street photographers embrace motion blur, shooting at 1/15th to convey the energy of city life. Others push their cameras to ISO 12,800, accepting grain as part of their aesthetic. The "right" settings are the ones that help you capture your vision.
Start with the fundamentals I've outlined, then experiment. Spend a day shooting only at f/11 with zone focus. Try a week using only manual mode. Embrace constraints—they force creativity. Document what works and what doesn't. Over time, you'll develop an intuitive understanding of which settings serve your artistic vision.
The Technical Becomes Invisible
The ultimate goal isn't to master camera settings for their own sake—it's to make them so automatic that they become invisible. When you can adjust your camera as naturally as a guitarist changes chords, you're free to focus entirely on the moment unfolding before you.
Think of settings like learning to drive. At first, you're conscious of every action—checking mirrors, timing the clutch, watching your speed. But eventually, these become automatic, freeing your mind to focus on navigation and traffic. The same principle applies to camera settings.
Practical Exercises to Build Muscle Memory
Here's a challenge: for one week, stick to one set of settings. Choose Aperture Priority at f/8, Auto ISO 100-3200, minimum shutter 1/250th. Don't change them. This constraint forces you to work within limitations and truly understand how these settings behave in different conditions.
Next week, switch to manual mode using the Sunny 16 rule as your starting point: on a sunny day, at f/16, your shutter speed should be 1/ISO. So at ISO 100, you'd shoot f/16 at 1/100th. This old-school method builds an intuitive understanding of exposure relationships.
Finally, practice changing settings without looking. Can you switch from f/8 to f/2.8 by counting clicks? Can you adjust ISO while keeping your eye to the viewfinder? This tactile familiarity pays dividends when moments unfold quickly.
Your Settings, Your Vision
Remember, there's no universal "correct" setting for street photography. What matters is understanding how each element affects your image and being able to adjust quickly when needed. The settings I use might not work for your style or your environment. The key is finding what works for you through practice and experimentation.
Start with the basics—f/8, 1/250th, Auto ISO—then make them your own. Maybe you prefer the dreamy look of f/2.8. Perhaps you like the gritty aesthetic of ISO 6400. That's the beauty of modern cameras: they give us options our predecessors couldn't imagine.
The streets are waiting, full of moments that exist for mere seconds before dissolving back into the flow of urban life. With your camera settings mastered and automatic, you'll be ready to capture them. After all, the best camera settings are the ones you don't have to think about—leaving your mind free to see, anticipate, and capture the extraordinary moments hidden in ordinary life.
---
Ready to put these settings into practice? Join thousands of street photographers sharing their work on the InTheStreets app. Download now and start capturing better street photos today.
*Featured image: "Camera mode dial close-up" by Elviss Railijs Bitāns via Pexels*