A Guide to Learning Low Light Photography and Creating Stunning Nocturnal Street Images
Low light photography, particularly when capturing nocturnal street scenes, offers a unique set of challenges and opportunities for photographers. The interplay of light and shadow, the vibrant colors of city lights, and the stillness of the night create an enchanting atmosphere that's ripe for exploration. As a photographer who has spent countless hours wandering city streets after dark, I've learned valuable lessons and techniques for mastering low light photography. In this blog post, I'll share my experiences and offer guidance on how to create stunning nocturnal street images using a conversational, informative, and personal writing style.
Understanding the Challenges of Low Light Photography
Before diving into specific techniques and tips, it's essential to understand the challenges that low light photography presents. The primary obstacle is the lack of available light, which can lead to underexposed images, slow shutter speeds, and increased camera shake. Additionally, focusing can be more difficult in low light conditions, and images may appear grainy due to high ISO settings.
By acknowledging these challenges and learning how to overcome them, you can create captivating nocturnal street images that showcase the unique beauty of the nighttime cityscape.
Mastering Your Camera Settings for Low Light Photography
To capture stunning low light street photographs, it's crucial to understand your camera settings and how to adjust them to optimize image quality.
Aperture
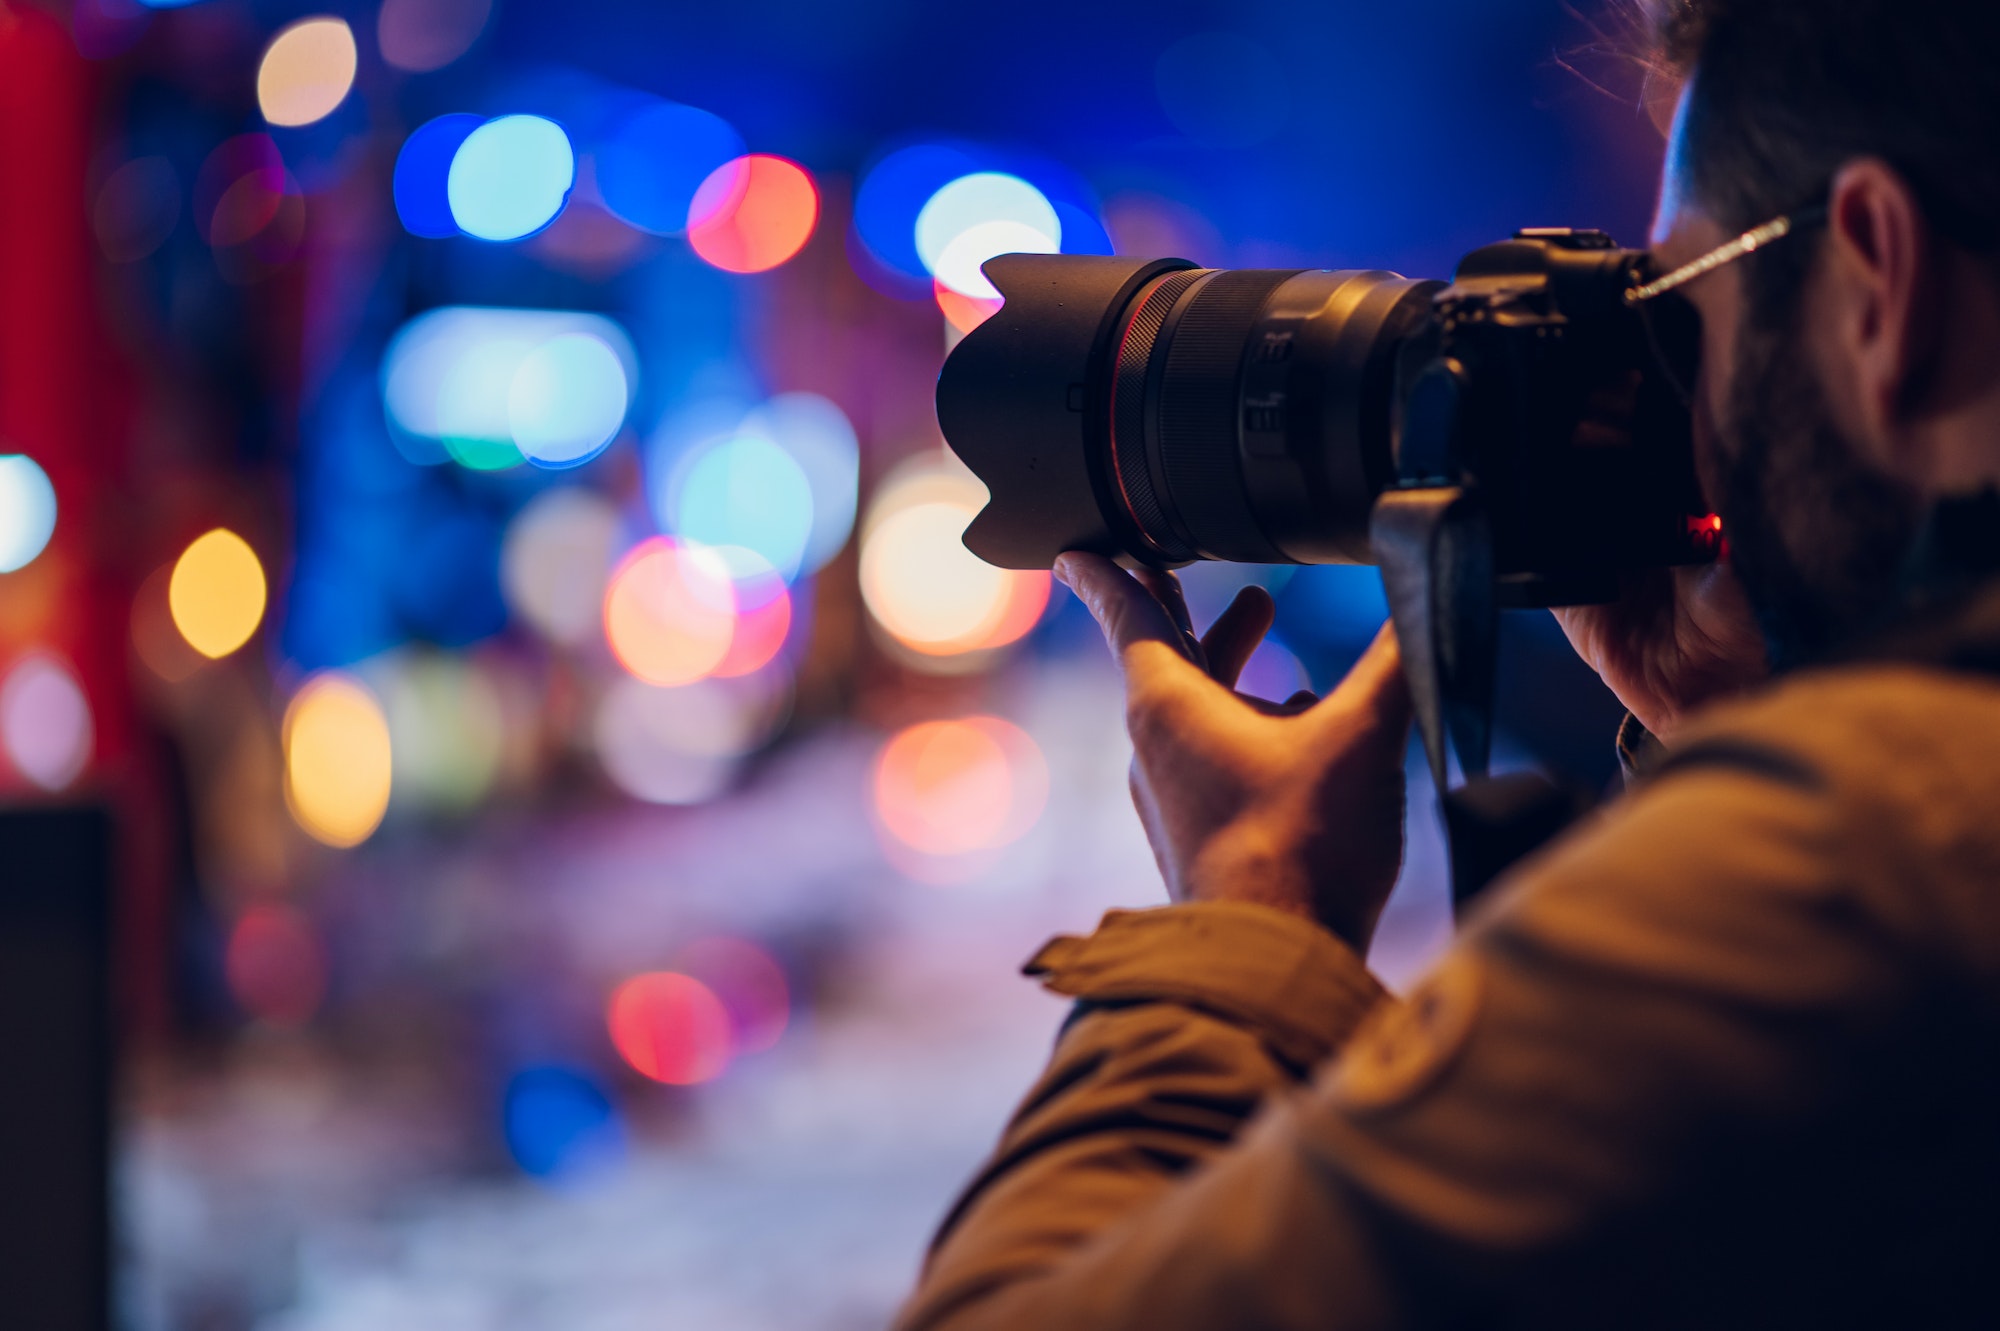
In low light situations, using a wide aperture (a low f-number) allows more light to enter the camera, which can help to achieve a proper exposure. Fast prime lenses with wide apertures (such as f/1.8 or f/1.4) are particularly useful for nocturnal street photography, as they enable you to capture more light without resorting to slower shutter speeds or higher ISO settings.
Shutter Speed
To prevent motion blur and camera shake, it's essential to select an appropriate shutter speed. A general rule of thumb is to use a shutter speed at least equal to the inverse of your focal length (e.g., 1/50s for a 50mm lens). However, this guideline may need to be adjusted depending on the specific conditions and your personal tolerance for motion blur.
ISO
Increasing your ISO can help to achieve a proper exposure in low light conditions, but it can also introduce noise and grain into your images. It's essential to strike a balance between a high enough ISO to capture sufficient light and a low enough ISO to maintain image quality. Experiment with your camera's ISO settings to determine the highest ISO value that still produces acceptable image quality.
Utilizing Camera Stabilization Techniques
In low light photography, camera shake can be a significant issue, especially when using slower shutter speeds. To minimize camera shake and produce sharp images, consider using the following stabilization techniques:
Handheld Shooting
When shooting handheld, maintain a steady grip on your camera and tuck your elbows close to your body for added stability. Engage your camera's image stabilization feature if it has one, and consider using a wider lens to minimize the appearance of camera shake.
Tripods and Monopods
Using a tripod or monopod can help to stabilize your camera and allow you to use slower shutter speeds without fear of camera shake. While tripods provide the most stability, monopods offer a more portable and flexible option for street photographers on the move.
Alternative Stabilization Methods
If you don't have access to a tripod or monopod, consider using alternative stabilization methods, such as bracing your camera against a wall, railing, or other stable surfaces. This can help to steady your camera and reduce the risk of camera shake.
Mastering the Art of Focusing in Low Light Conditions
Achieving accurate focus in low light conditions can be challenging, as cameras often struggle to lock focus in dim environments. To improve your focusing skills in nocturnal street photography, consider employing the following techniques:
Manual Focus
Switching to manual focus gives you complete control over the focusing process and can be particularly helpful when your camera's autofocus system struggles in low light. To make manual focusing easier, use your camera's focus peaking or magnification features to ensure that your subject is in sharp focus.
Back Button Focus
Back button focus is a technique that separates the focusing function from the shutter button, allowing you to lock focus independently of taking a photograph. This can be beneficial in low light situations, as it enables you to pre-focus on a specific area and wait for the perfect moment to capture your shot.
Focus on Areas of Contrast
When using autofocus in low light, try to focus on areas of high contrast, such as the boundary between light and shadow or areas where different colors meet. This can help your camera's autofocus system to lock on more quickly and accurately.
Embracing the Creative Opportunities of Nocturnal Street Photography
Low light conditions and the nighttime cityscape offer a wealth of creative opportunities for photographers willing to embrace the challenges. Some aspects to consider when exploring the artistic potential of nocturnal street photography include:
Experimenting with Light Trails and Motion Blur
The movement of vehicles and people within the nighttime cityscape can create dynamic light trails and motion blur effects. By using slower shutter speeds and intentional camera movement, you can incorporate these elements into your images for a sense of energy and motion.

Capturing Reflections and Puddles
Rain-soaked streets and puddles offer the opportunity to capture unique reflections of city lights, buildings, and people. Keep an eye out for interesting reflections and experiment with different angles and perspectives to create visually striking images.
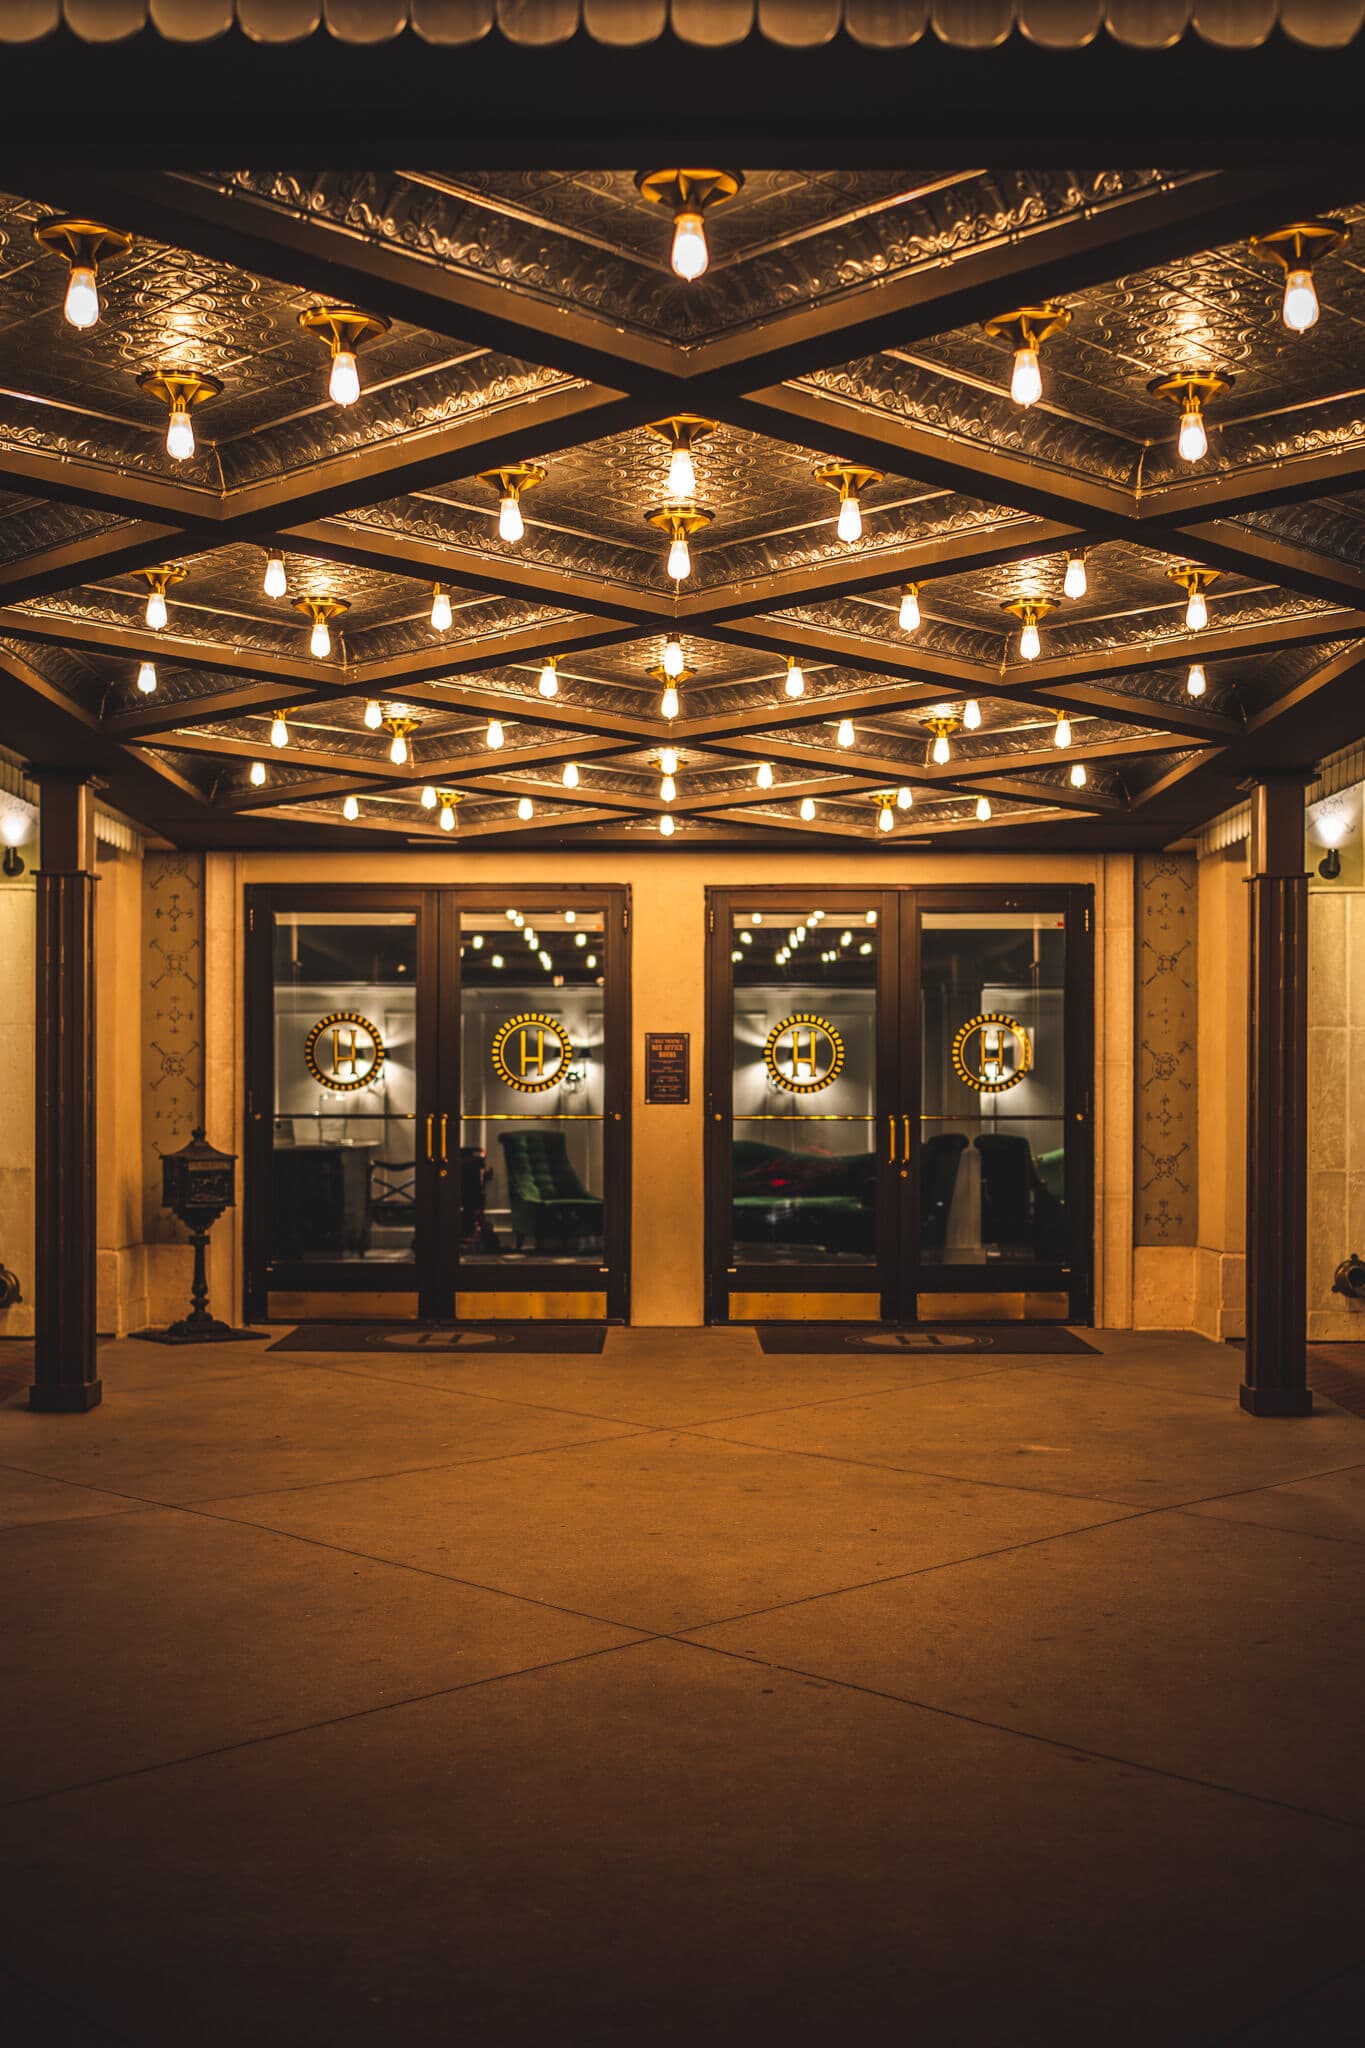
Utilizing Artificial Light Sources
The nighttime cityscape is filled with artificial light sources, such as streetlights, neon signs, and illuminated windows. These lights can add color, contrast, and visual interest to your images, so consider incorporating them into your compositions and utilizing their unique qualities to enhance your photographs.

Learning from the Masters of Nocturnal Street Photography
To further develop your skills and find inspiration for your nocturnal street photography, study the work of renowned photographers who have excelled in this genre. Artists such as Brassai, Bill Brandt, and Trent Parke have created iconic images of nighttime cityscapes that showcase the unique beauty and atmosphere of the urban landscape after dark.
To Recap
Learning low light photography and creating stunning nocturnal street images is a rewarding pursuit that requires a blend of technical knowledge, creative vision, and perseverance. By mastering your camera settings, utilizing stabilization techniques, improving your focusing skills, and embracing the creative opportunities of the nighttime cityscape, you can unlock the full potential of nocturnal street photography and produce captivating images that stand out from the crowd.