Creative Long Exposure Photography Ideas to Try Today
Introduction
Long exposure photography is a captivating technique that allows photographers to capture the passage of time in a single frame. By using extended shutter speeds, you can create stunning visual effects that transform ordinary scenes into extraordinary works of art. This comprehensive guide will explore a variety of creative long exposure photography ideas, including capturing star trails, painting with light, photographing moving water, and creating ghostly effects with moving people. Each section will provide detailed instructions, recommended equipment, settings, and techniques to help you achieve the best results.
Essential Equipment for Long Exposure Photography
Before diving into specific ideas, it’s important to have the right equipment. Here’s what you’ll need:
- Camera: A DSLR or mirrorless camera with manual mode is ideal. This allows you to control shutter speed, aperture, and ISO settings.
- Tripod: A sturdy tripod is essential to keep your camera stable during long exposures, preventing unwanted blur.
- Remote Shutter Release: A remote shutter release or intervalometer helps minimize camera shake when pressing the shutter button.
- Neutral Density (ND) Filters: ND filters reduce the amount of light entering the lens, allowing for longer exposures even in bright conditions.
- Extra Batteries and Memory Cards: Long exposure sessions can drain your battery and fill up memory cards quickly, so having extras is a good idea.
- Flashlight: Useful for light painting and navigating in low light conditions.
Capturing Star Trails
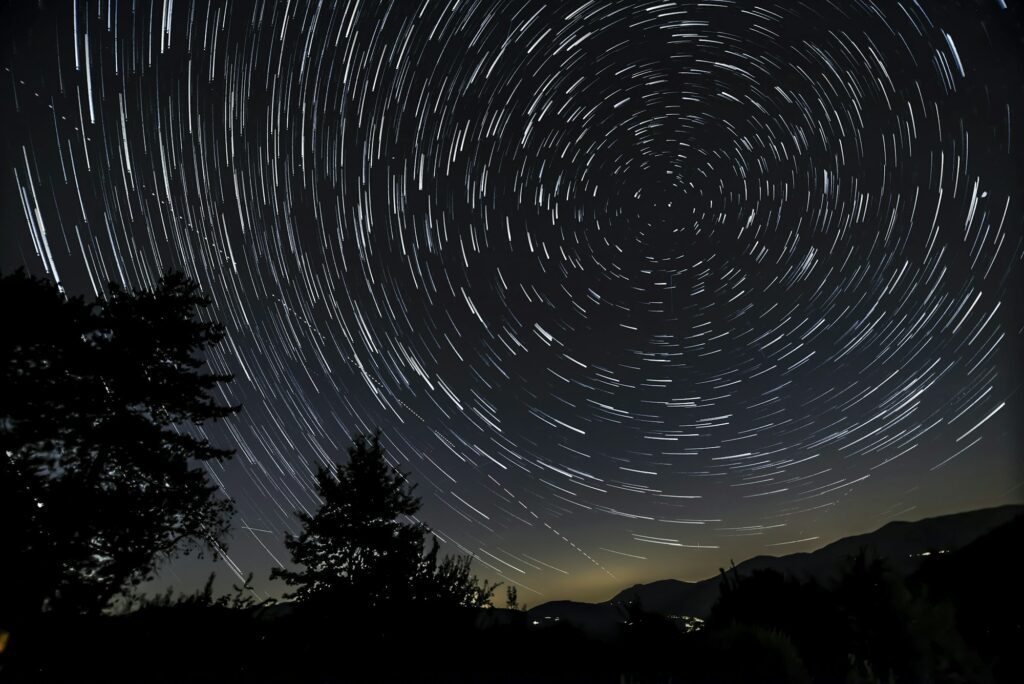
Star trails are a mesmerizing effect created by capturing the movement of stars across the sky over an extended period. Here’s how to achieve this effect:
Settings and Preparation
- Location: Find a location away from city lights to reduce light pollution. National parks, rural areas, and mountains are ideal.
- Weather: Check the weather forecast to ensure clear skies. Apps like Clear Outside can help predict cloud cover and visibility.
- Equipment: Camera, wide-angle lens, tripod, remote shutter release, and a flashlight.
Steps to Capture Star Trails
- Set Up Your Camera: Mount your camera on the tripod and attach the remote shutter release.
- Compose Your Shot: Frame the shot to include an interesting foreground element, like a tree or a mountain. This adds depth to your image.
- Focus: Manually focus on a bright star or set your lens to infinity.
- Settings: Set your camera to manual mode. Start with a low ISO (100-400), a wide aperture (f/2.8 to f/4), and a shutter speed of 20-30 seconds.
- Shoot: Use the remote shutter release to take continuous shots for 1-3 hours. This will capture the movement of stars across the sky.
- Post-Processing: Use software like StarStaX or Adobe Photoshop to stack the images together, creating smooth, continuous star trails.
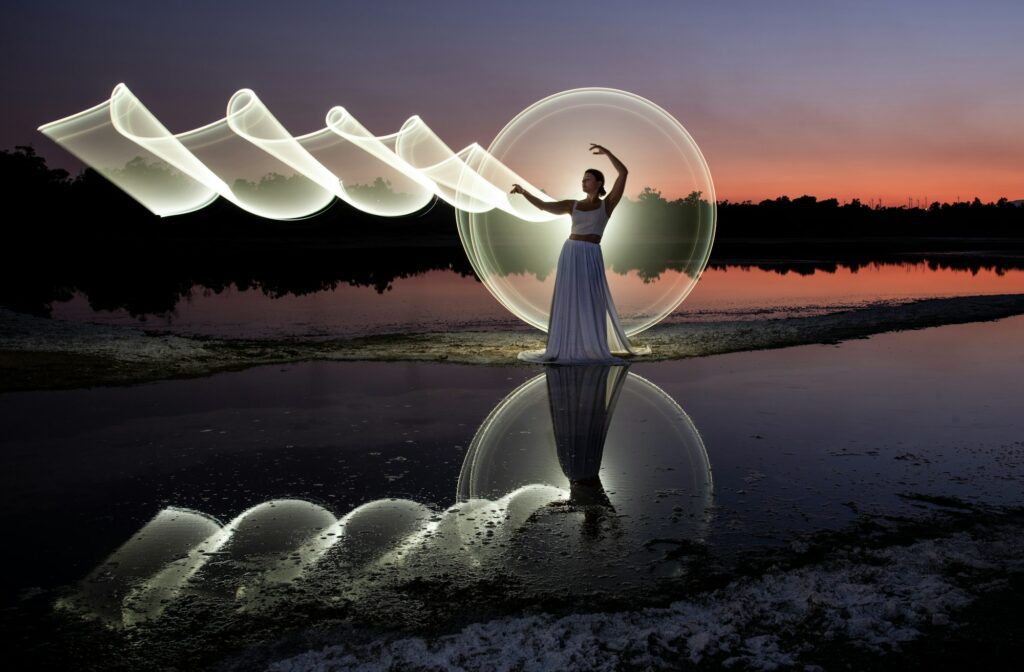
Painting with Light
Light painting is a technique where you use a light source to “paint” or draw in the air during a long exposure. This can create beautiful, abstract images.
Settings and Preparation
- Location: A dark environment is essential, whether indoors or outdoors.
- Equipment: Camera, tripod, remote shutter release, flashlight, glow sticks, or any light source.
Steps to Paint with Light
- Set Up Your Camera: Mount your camera on the tripod and attach the remote shutter release.
- Compose Your Shot: Frame your shot in a dark environment.
- Focus: Manually focus on the area where you will be light painting.
- Settings: Set your camera to manual mode with an ISO of 100-400, aperture of f/8 to f/11, and a shutter speed of 15-30 seconds.
- Paint: Press the shutter button and start moving your light source in the air to create patterns, shapes, or write words.
- Review and Adjust: Review your shot and adjust your movements, settings, or composition as needed.
Photographing Moving Water
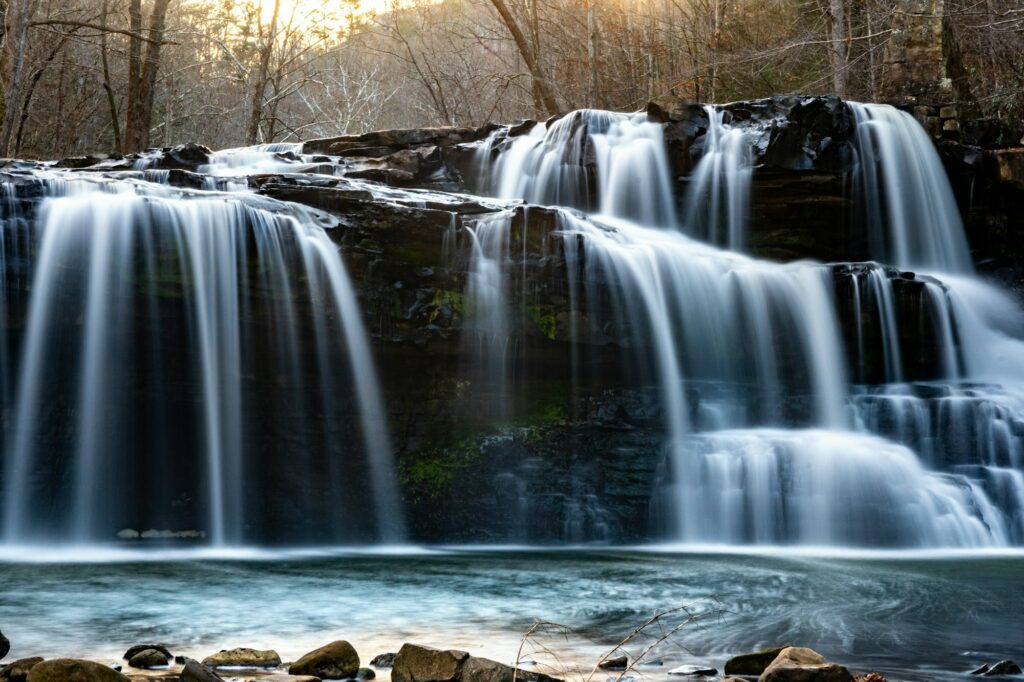
Long exposure photography can turn moving water, like waterfalls, rivers, and ocean waves, into silky smooth flows. This creates a serene and dreamy effect.
Settings and Preparation
- Location: Waterfalls, rivers, and coastal areas are great locations.
- Equipment: Camera, tripod, remote shutter release, ND filters.
Steps to Photograph Moving Water
- Set Up Your Camera: Mount your camera on the tripod and attach the remote shutter release.
- Compose Your Shot: Frame your shot to include the water as the main subject.
- Focus: Manually focus on a point in the water or on a stationary object nearby.
- Settings: Set your camera to manual mode. Use an ISO of 100, an aperture of f/8 to f/16, and a shutter speed of 1-30 seconds, depending on the light and the speed of the water.
- Use ND Filters: If the scene is too bright for a long exposure, attach an ND filter to reduce the light entering the lens.
- Shoot: Use the remote shutter release to take the shot, capturing the smooth, flowing motion of the water.
- Review and Adjust: Review your image and make adjustments to your settings or composition as needed.
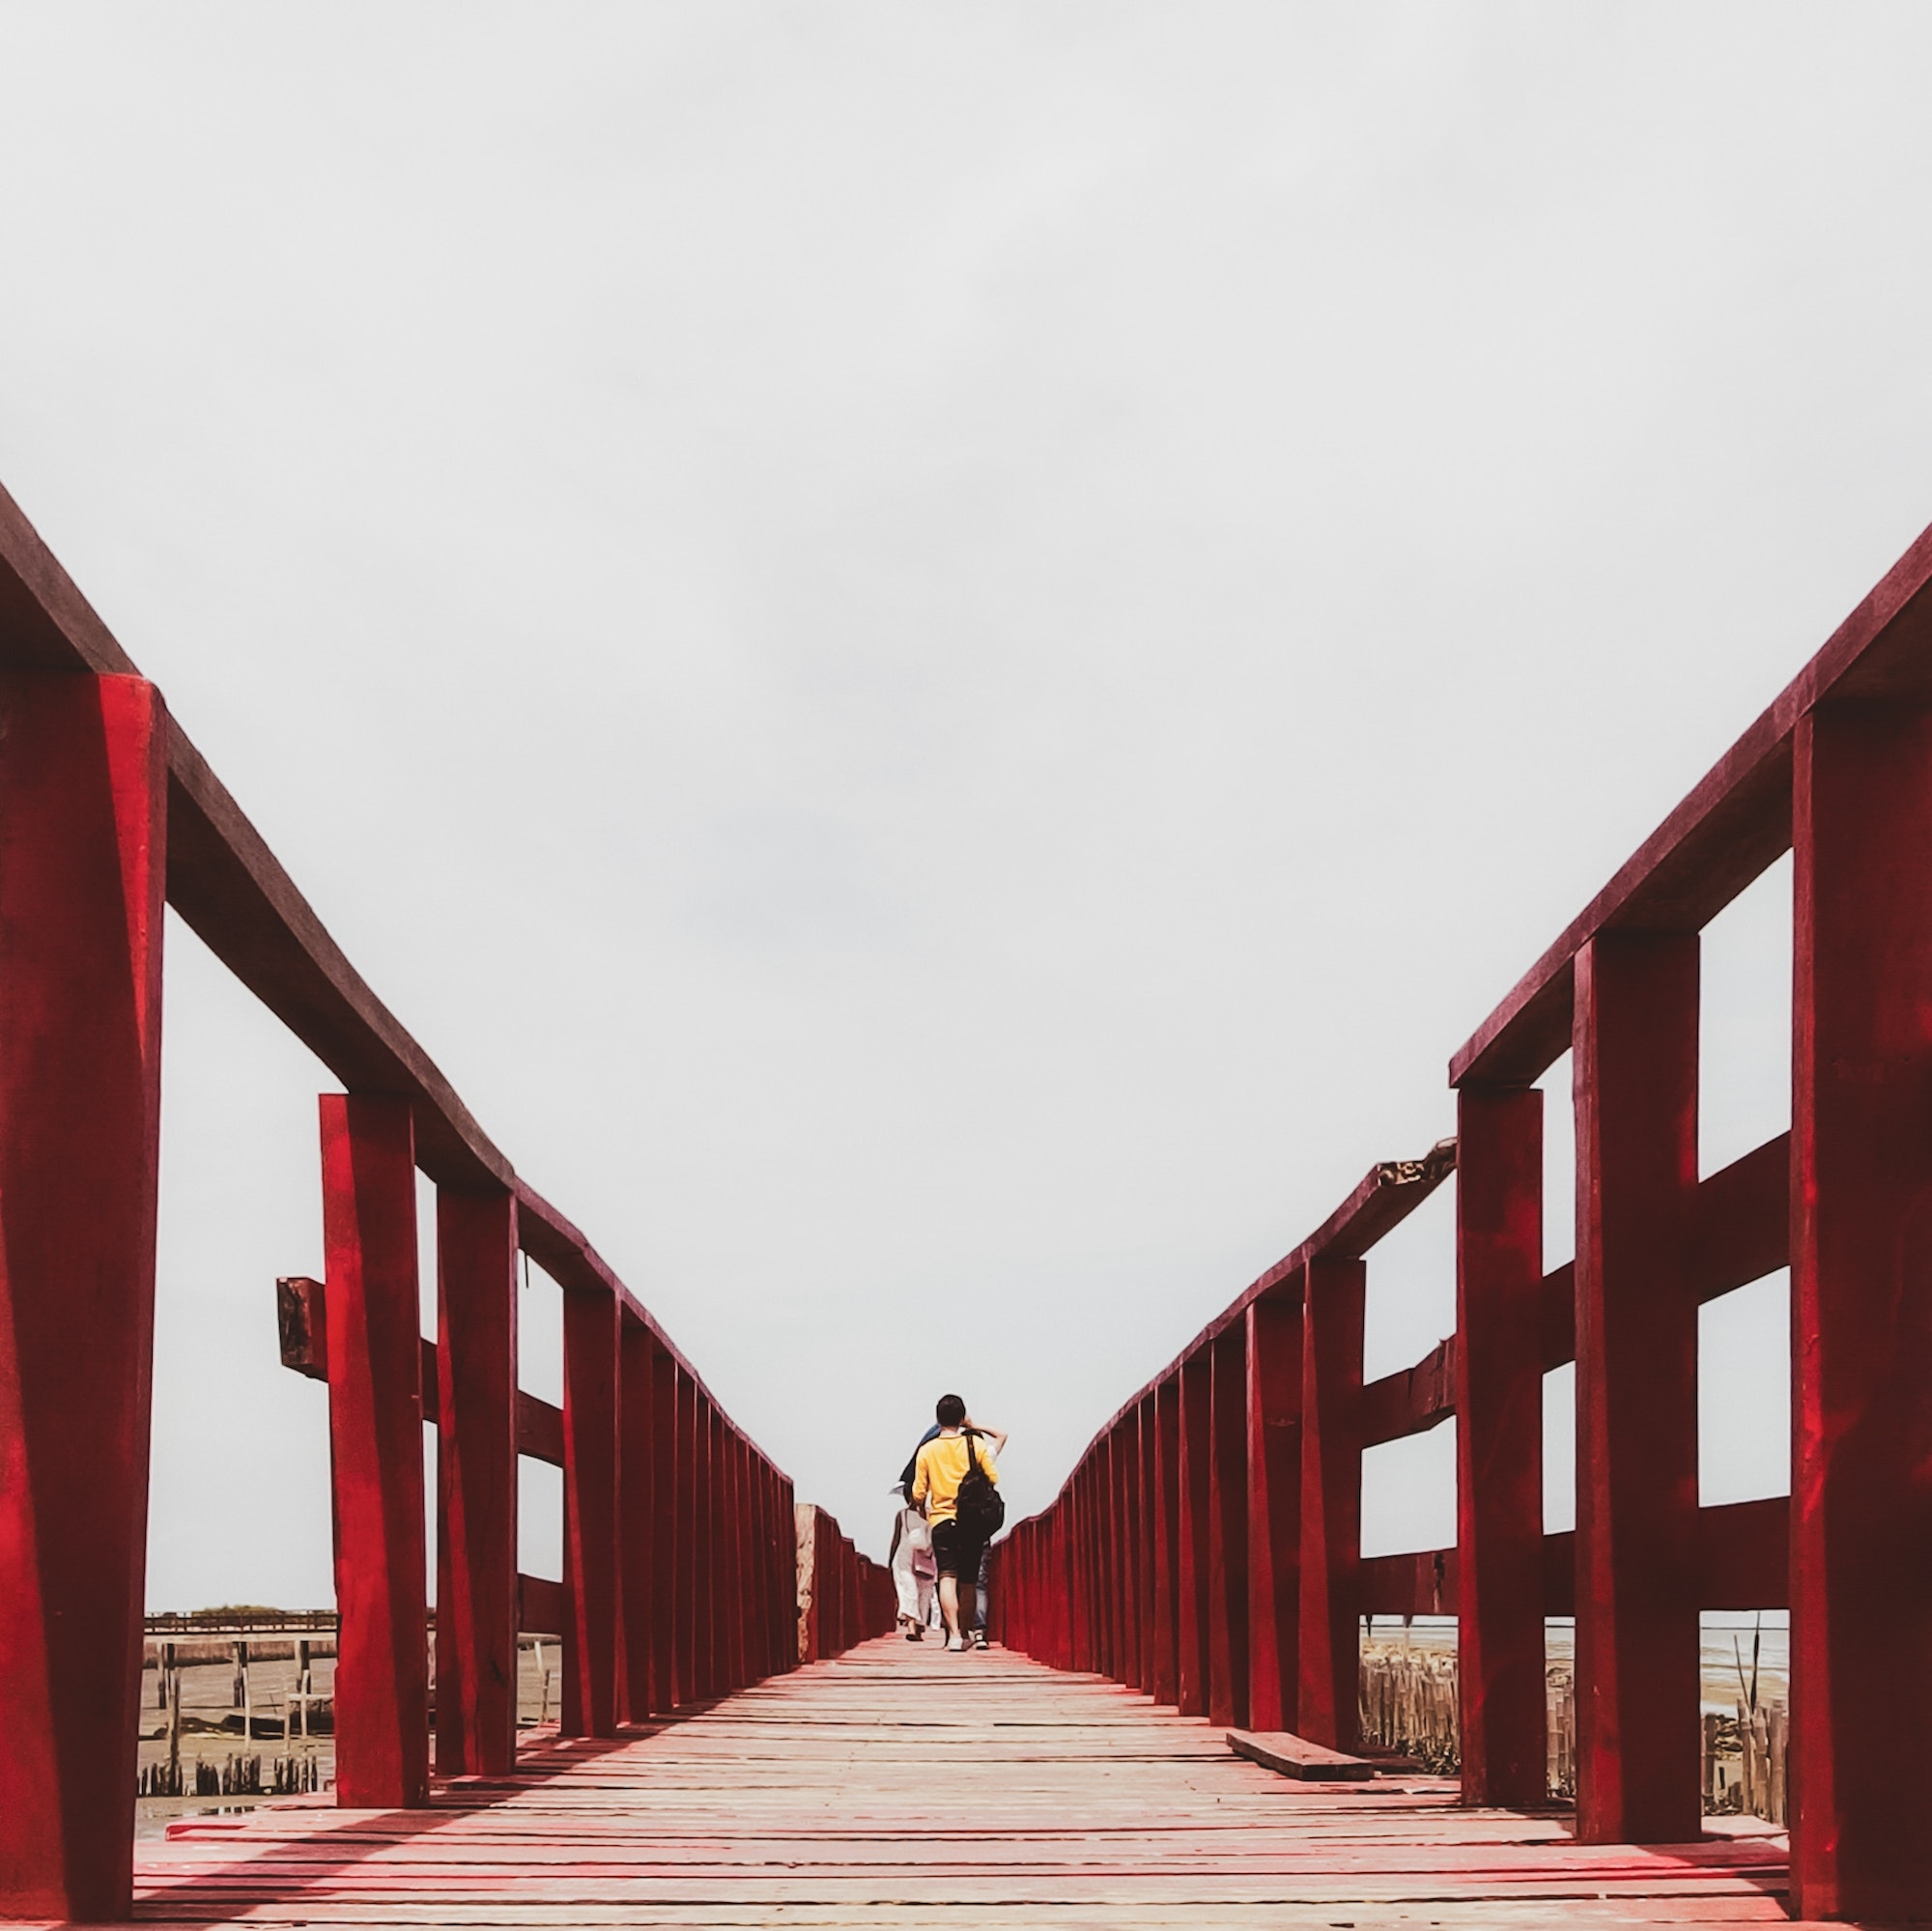
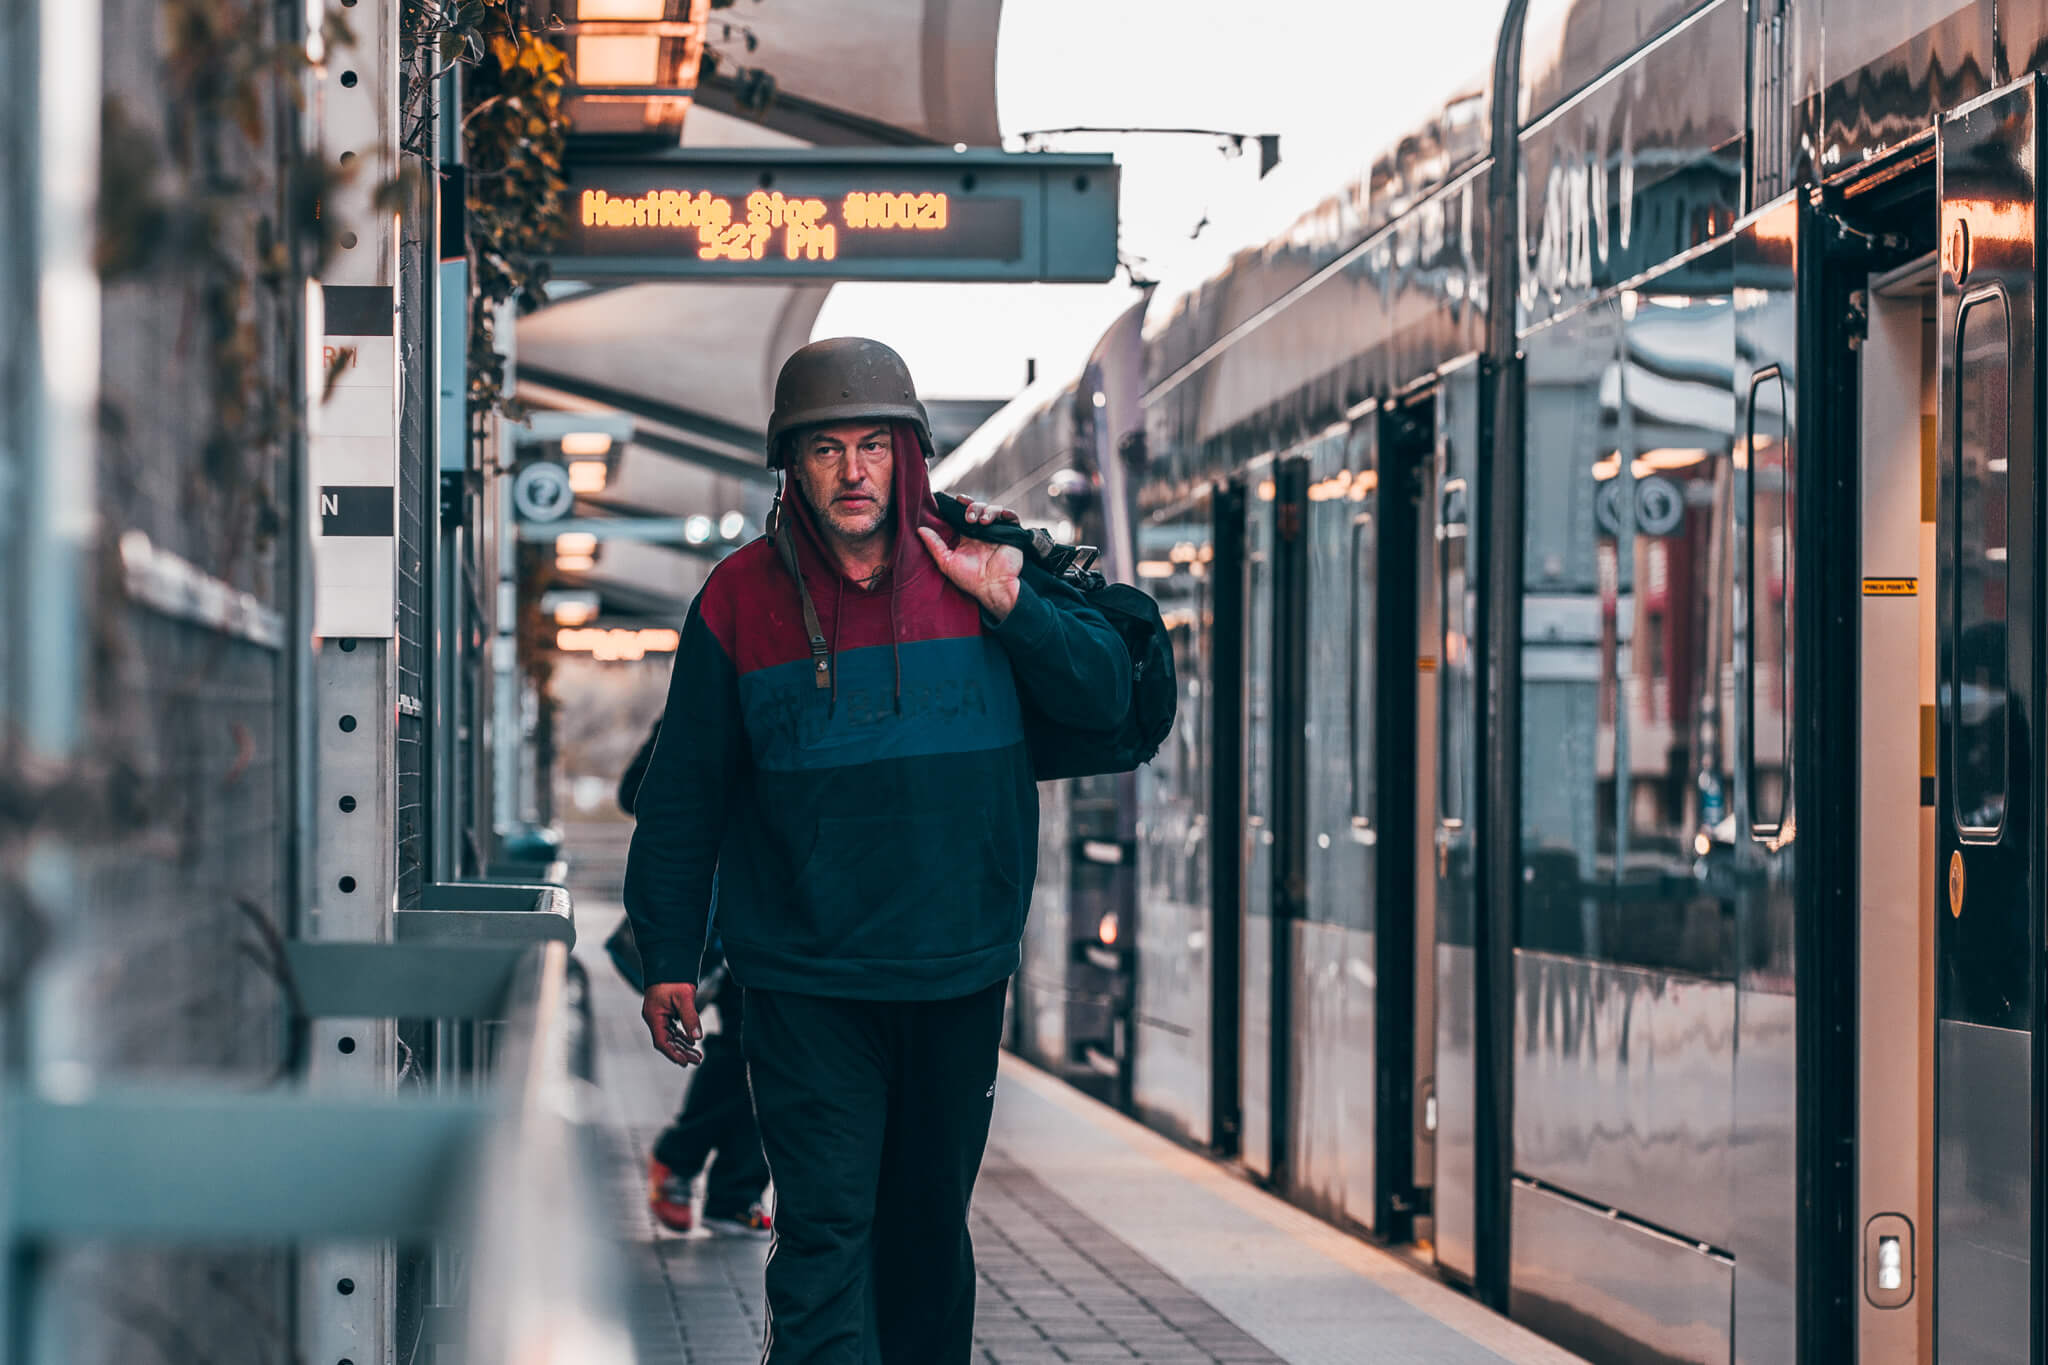
Creating Ghostly Effects with Moving People
Long exposure photography can create ghostly, ethereal effects when capturing moving people. This is particularly effective in busy urban environments.
Settings and Preparation
- Location: Busy streets, markets, or train stations.
- Equipment: Camera, tripod, remote shutter release, ND filters if shooting during the day.
Steps to Create Ghostly Effects
- Set Up Your Camera: Mount your camera on the tripod and attach the remote shutter release.
- Compose Your Shot: Frame your shot to include the area where people will be moving.
- Focus: Manually focus on a stationary object within the scene.
- Settings: Set your camera to manual mode with an ISO of 100-400, an aperture of f/8 to f/16, and a shutter speed of 1-30 seconds.
- Use ND Filters: If shooting during the day, use an ND filter to allow for a longer exposure.
- Shoot: Use the remote shutter release to take the shot. Moving people will appear as blurred or ghostly figures, while stationary objects remain sharp.
- Review and Adjust: Review your image and make adjustments as needed to achieve the desired effect.
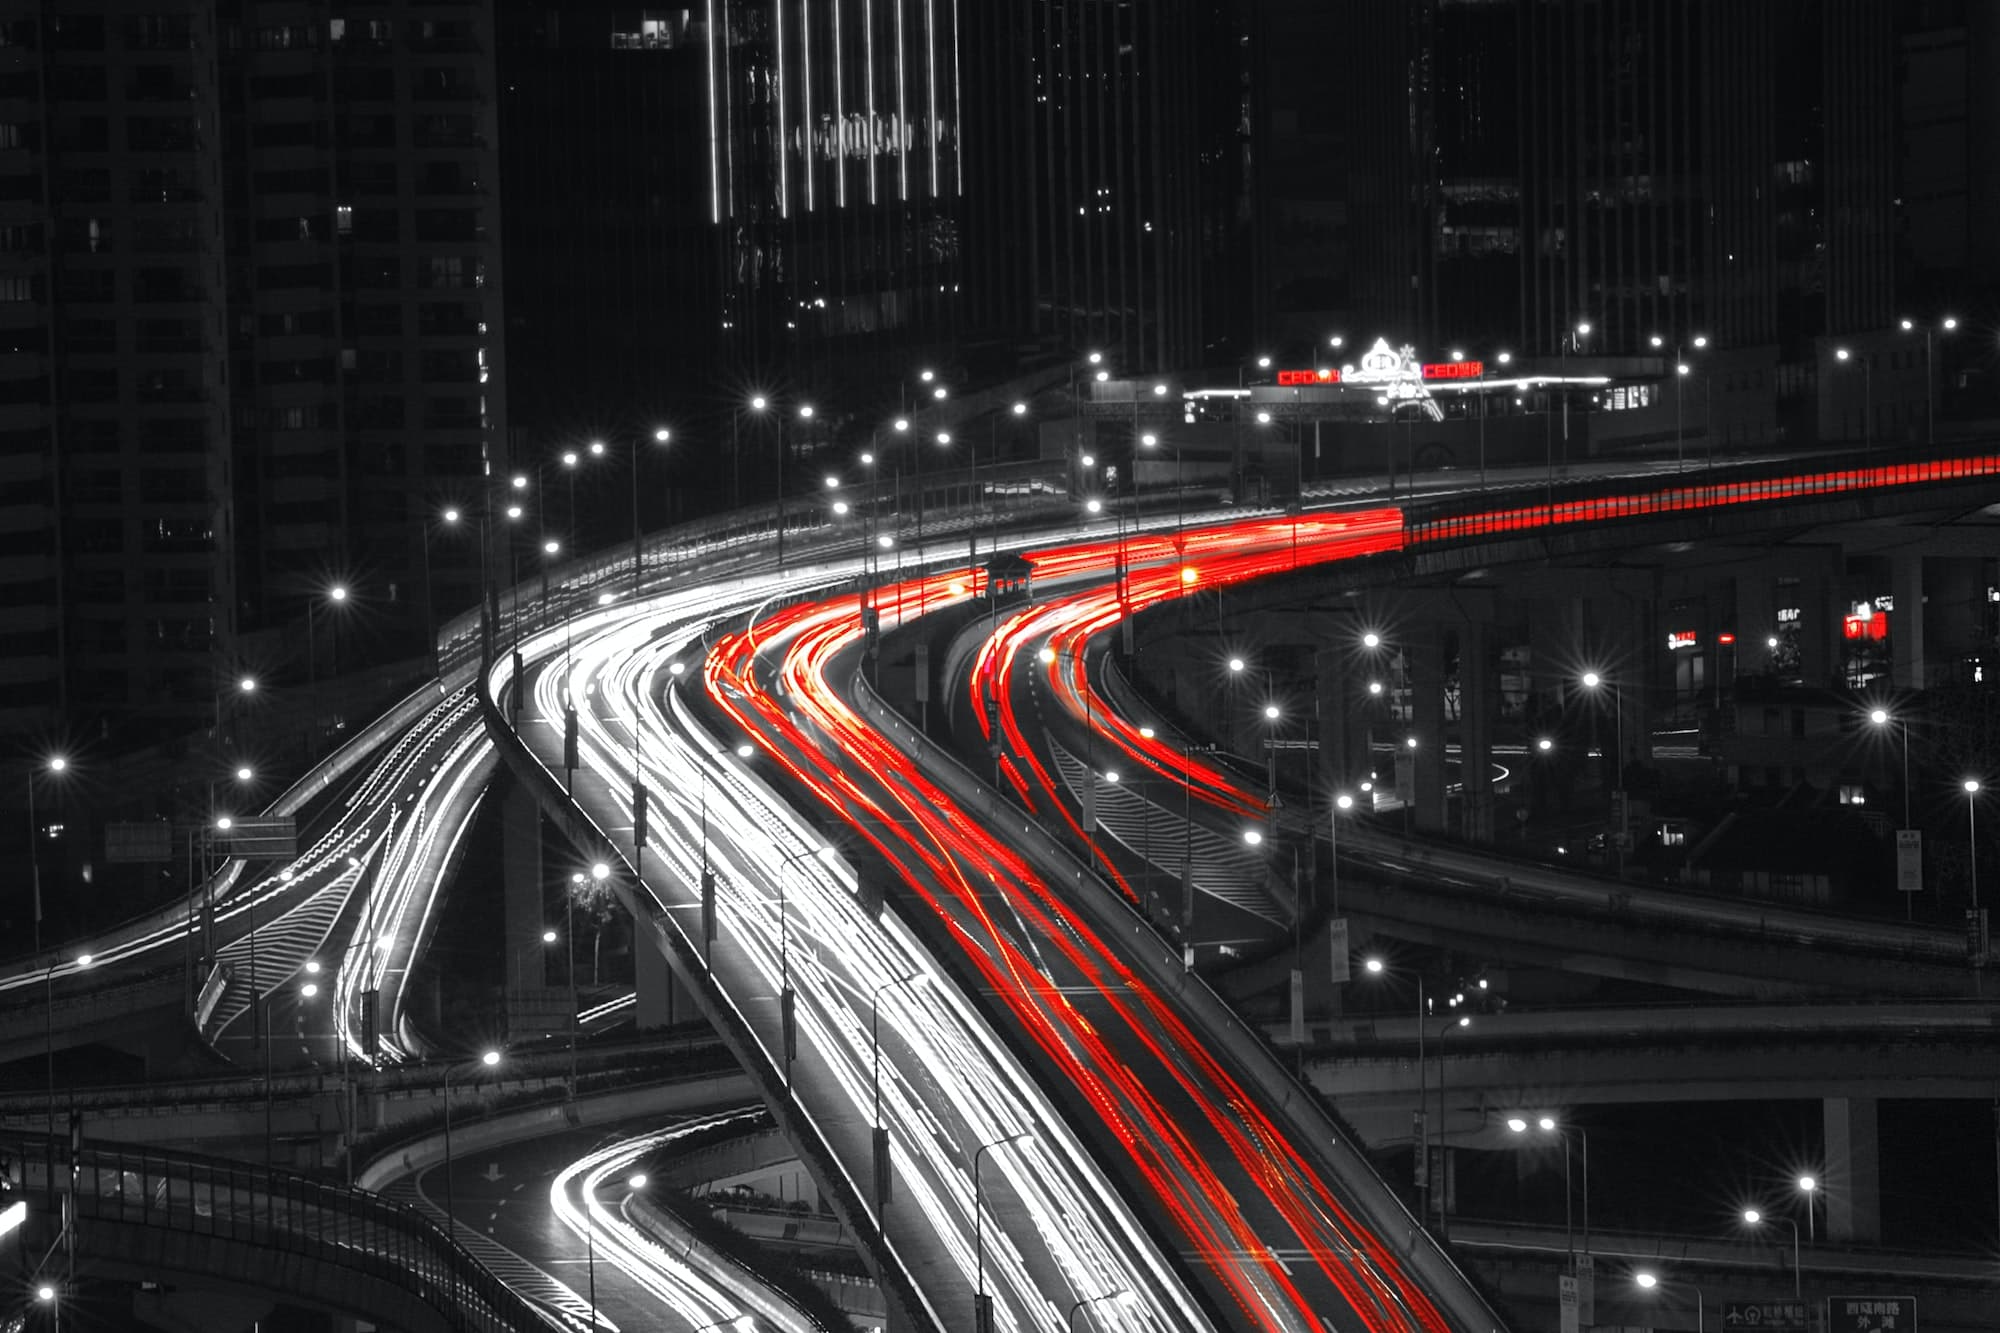
Capturing Light Trails
Light trails from moving vehicles can create dynamic and visually striking images, especially in urban environments at night.
Settings and Preparation
- Location: Busy roads, bridges, and highways.
- Equipment: Camera, tripod, remote shutter release.
Steps to Capture Light Trails
- Set Up Your Camera: Mount your camera on the tripod and attach the remote shutter release.
- Compose Your Shot: Frame your shot to include the road and surrounding cityscape.
- Focus: Manually focus on a point where the light trails will appear.
- Settings: Set your camera to manual mode with an ISO of 100-400, an aperture of f/8 to f/16, and a shutter speed of 10-30 seconds.
- Shoot: Use the remote shutter release to take the shot. The moving vehicles’ lights will create continuous trails of light.
- Review and Adjust: Review your image and make adjustments as needed to capture the best light trails.
Tips for Successful Long Exposure Photography
- Use a Tripod: Stability is crucial for long exposure photography to avoid camera shake and blurry images.
- Remote Shutter Release: Using a remote shutter release minimizes the risk of camera shake when pressing the shutter button.
- Manual Mode: Shoot in manual mode to have full control over your exposure settings.
- Experiment with Settings: Don’t be afraid to experiment with different settings to achieve the desired effect.
- Check Your Histogram: Use your camera’s histogram to ensure proper exposure and avoid blown-out highlights.
- Be Patient: Long exposure photography often requires patience, as you may need to wait for the right moment or adjust your settings multiple times.
- Plan Your Shoot: Research your location and check the weather conditions to ensure optimal shooting conditions.
To End Things
Long exposure photography offers endless creative possibilities, from capturing the movement of stars and water to painting with light and creating ghostly effects with moving people. By understanding the techniques and equipment needed for these effects, you can elevate your photography and create stunning, unique images. Experiment with these ideas, and let your creativity flow. With practice and patience, you’ll master the art of long exposure photography and capture the world in ways you never thought possible.