
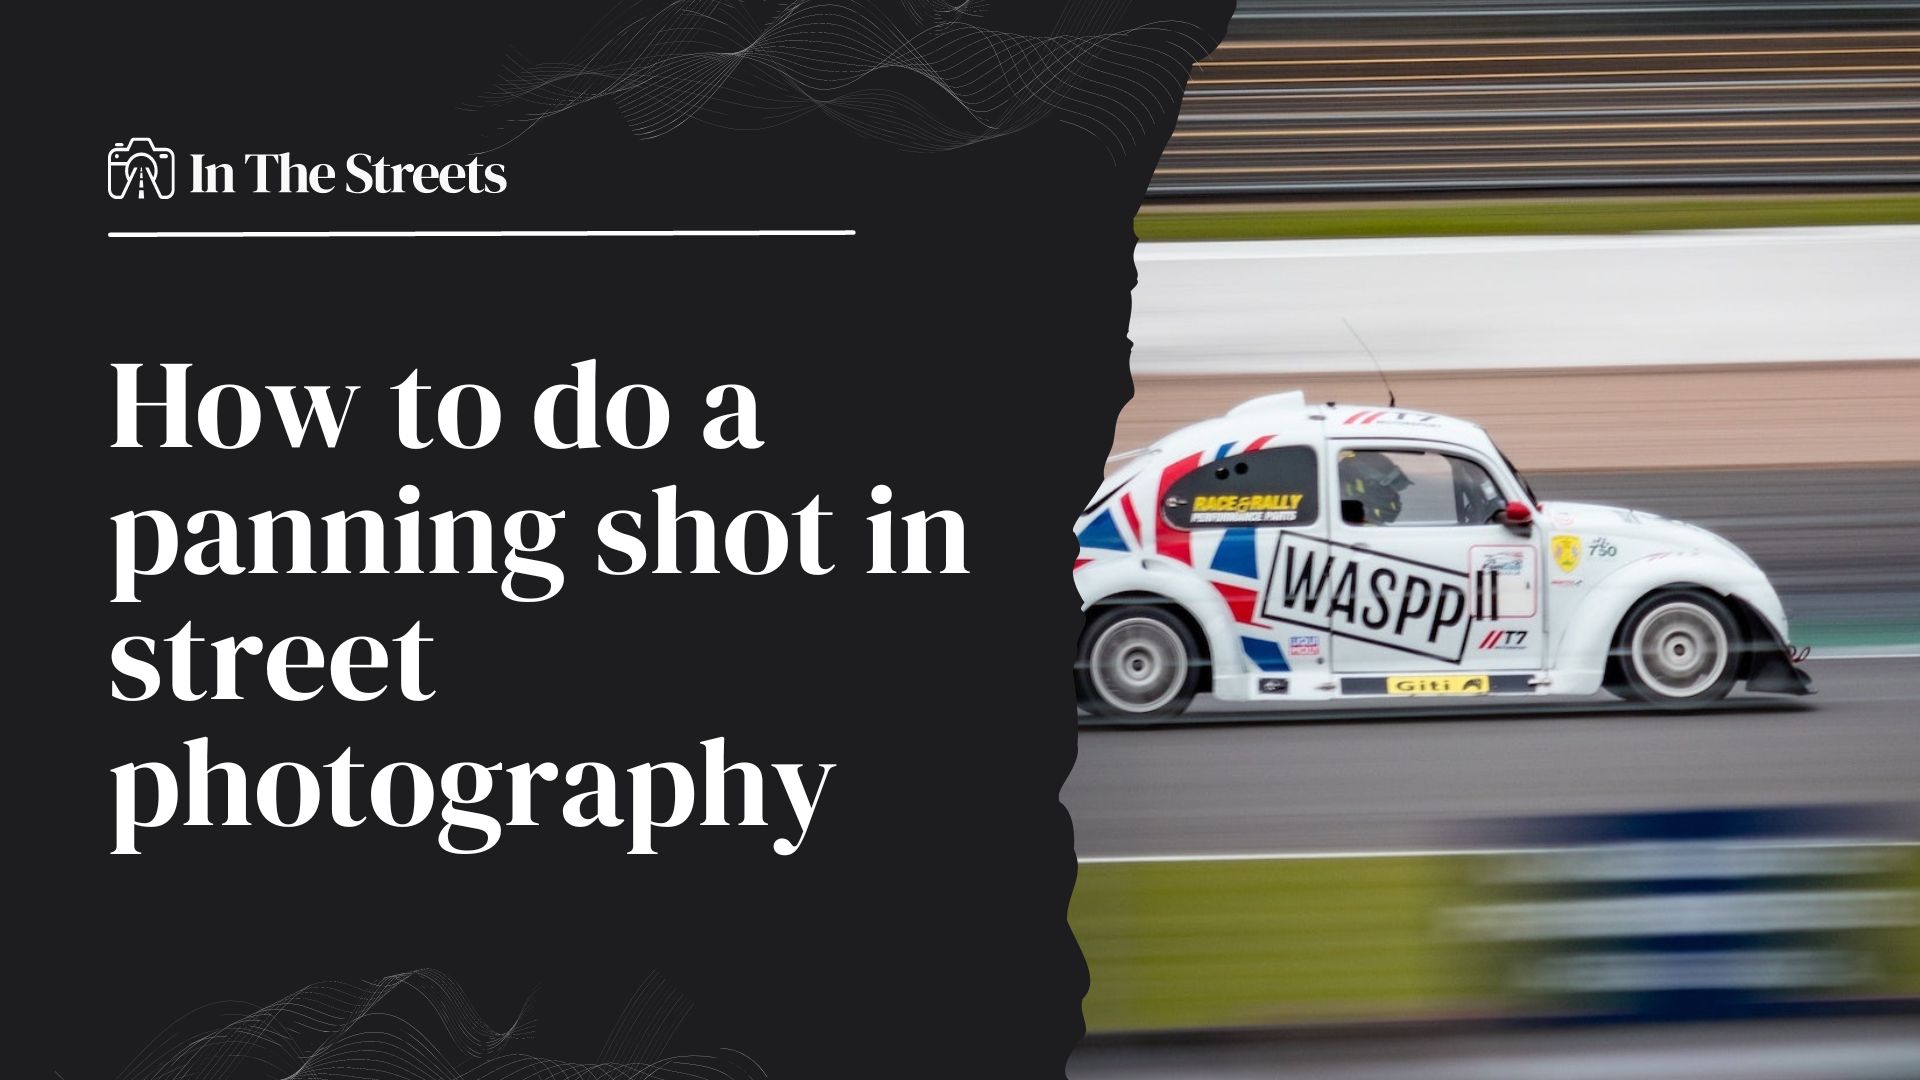
Panning, as many of you know, is a photography technique typically used to capture motion in a dynamic and captivating way. But when it comes to street photography, panning takes on a whole new dimension. It’s not just about tracking a moving subject — it’s about capturing the essence of life’s perpetual motion against the backdrop of an often chaotic, always intriguing, urban landscape.
In today’s post, we’re going to delve deep into the art of panning in street photography. We’ll discuss why panning is such a valuable tool in your street photographer’s toolkit, the technical aspects you’ll need to master, and the secrets to nailing the perfect pan. Then, we’ll guide you through some exercises designed to help you hone this thrilling technique. So, are you ready to add some motion to your street photography? Let’s dive in.
Understanding Panning
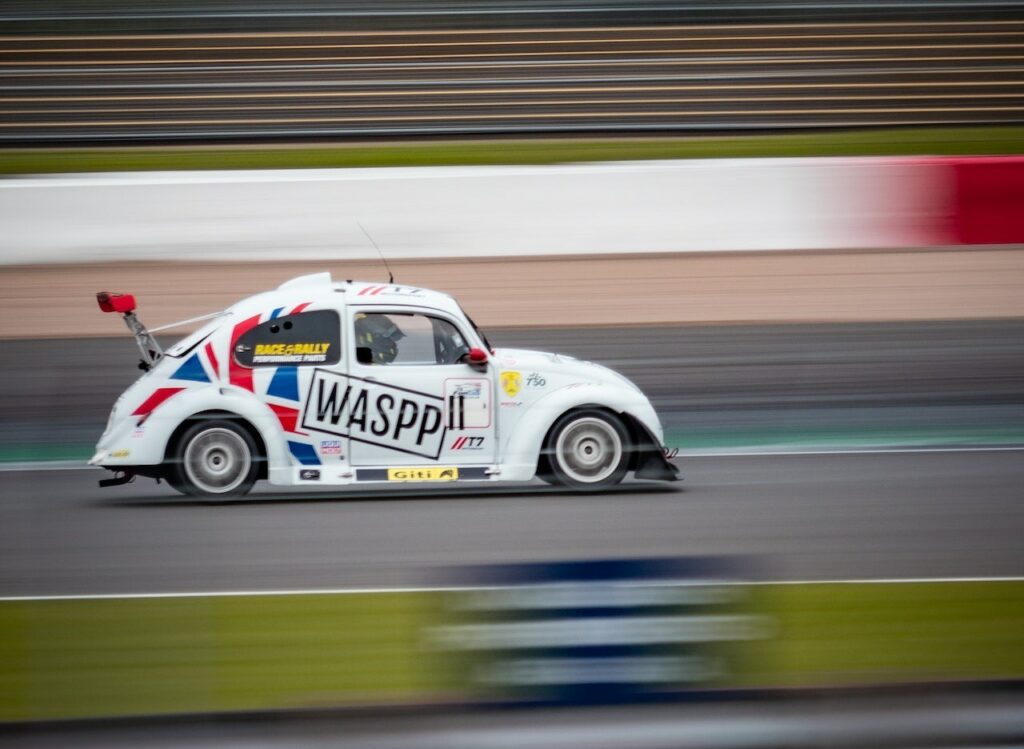
Before we get into the nitty-gritty of how to execute a perfect panning shot, let’s make sure we’re all on the same page about what panning actually is. In photography, panning refers to the horizontal movement or rotation of your camera, aiming to keep a moving subject in the same position of the frame in order to create a motion blur in the background. This technique gives a strong sense of movement and speed to your shots.
In street photography, panning helps us to freeze a subject in motion against a dynamic, blurred backdrop of the city’s hustle and bustle. It’s a fantastic way to make a single person, vehicle, or any moving subject the focal point of your image while simultaneously conveying the energy of the street.
Why Panning Works for Street Photography
Street photography is all about capturing life as it unfolds — the raw, candid, unscripted moments that tell the story of the street. Panning enables us to accentuate the fluidity and motion of the street, creating images that are both visually engaging and deeply evocative.
A successful panning shot creates a sense of contrast between the sharp, frozen subject and the blurred environment. This contrast enables the viewer to feel the energy and movement of the street without getting lost in its details. It’s this dynamic tension that can turn an ordinary street scene into an extraordinary photographic moment.
But as with any advanced technique, mastering panning requires a solid understanding of the technical aspects and a lot of practice.
Getting Technical: Camera Settings for Panning
The key to a successful panning shot is to have the right camera settings. Here are some guidelines to get you started.
Shutter Speed – between 1/30th and 1/60th
Your shutter speed will be the most crucial setting when it comes to panning. It needs to be slow enough to allow for the background to blur due to the camera’s movement but fast enough to freeze the subject. A good starting point might be somewhere between 1/30th and 1/60th of a second, but you may need to adjust this depending on the speed of your subject and the effect you want to achieve.
Aperture – smaller aperture f8+
Because a slower shutter speed will let more light into your camera, you might need to use a smaller aperture (larger f-number) to avoid overexposing your shot. Again, you’ll want to experiment to see what works best for the lighting conditions and depth of field you’re aiming for.
ISO – as low as possible
Try to keep your ISO as low as possible to maintain the highest image quality. You’ll want to adjust your shutter speed and aperture first, and then increase your ISO only if necessary.
Focus Mode
Use continuous or servo autofocus mode to keep your moving subject in focus. If your camera has an AI Servo AF (Canon) or AF-C (Nikon) mode, use that.
Drive Mode
Set your camera to continuous shooting or burst mode. This allows you to take several shots in quick succession, increasing your chances of getting that perfect panning shot.
The Art of Panning: Technique and Practice
Knowing your camera settings is just half the battle; the other half is mastering the actual panning technique. Here are the key steps to follow:
- Find Your Spot: Look for a location with a clean, unobtrusive background that will create a nice blur when you pan. Also, consider the direction of the light — having it come from behind you can make it easier to get a well-exposed shot.
- Position Yourself: Stand parallel to the path of your moving subject. You’ll want to swivel or pivot at your waist, keeping your feet planted as you follow the motion of your subject.
- Set Your Focus: Before the subject enters your frame, point your camera at the spot where you plan to capture the shot, and press the shutter button halfway down to pre-focus your lens.
- Track the Subject: As the subject approaches, start following it with your camera, trying to match its speed. Keep your movements smooth, and remember to pivot at your waist.
- Take the Shot: When the subject reaches the spot you focused on earlier, press the shutter button all the way down without stopping your panning motion. Continue to follow the subject even after you’ve taken the shot, this is called “following through” and is key to getting a sharp panning shot.
- Review and Adjust: Check your image. If the subject isn’t sharp or the background isn’t as blurred as you’d like, adjust your settings and try again.
Remember, panning is a skill that requires practice. Don’t be discouraged if your initial attempts aren’t perfect. It’s all part of the learning process.
Practical Exercises
Now that we’ve covered the theory and the technique, let’s move on to some practical exercises. These will help you get a feel for panning and will speed up your progress immensely.
Exercise 1: The Moving Vehicle
Start by practicing on cars. They’re ubiquitous and move at a predictable pace, making them perfect for beginners. Try different shutter speeds to see how it affects the motion blur and the sharpness of your subject.
Exercise 2: Pedestrians on the Move
Next, move on to pedestrians. They are slower and more unpredictable than cars, adding a bit of challenge. Try to capture them against a variety of backgrounds and play around with your timing to get different effects.
Exercise 3: Bicycles and Other Fast Movers
Once you’re comfortable with cars and pedestrians, try your hand at faster and more unpredictable subjects like bicycles, skateboards, or even dogs. This will really test your tracking and timing skills.
In The Streets Challenge: Share Your Shots
We’d love to see what you can do with panning! Try these exercises and share your best panning shots with us on our social media channels using the hashtag #InTheStreets. We’ll feature some of our favorite shots in an upcoming blog post.
Wrapping Up
Panning can be a powerful tool in street photography, transforming everyday moments into dynamic, compelling images. But like any advanced technique, it takes understanding, practice, and patience to master.
Don’t get disheartened if your early attempts aren’t as sharp as you’d like, or if you find the perfect scene but the shots just aren’t coming out as you imagined. That’s all a part of the learning process. Each shot you take brings you one step closer to mastering the art of panning.
Remember, the goal isn’t just to get a technically perfect panning shot — it’s to use panning to tell a story, to capture a slice of life on the street in a way that’s vibrant, evocative, and uniquely yours. So get out there, start practicing, and let’s add some motion to your street photography!
