How to Shoot a Long Exposure Shot in Street Photography
Hello street photographers, today we're diving into a technique that can add a unique, mesmerizing twist to your street photography: long exposure. This isn't your run-of-the-mill quick snap of bustling city life. Instead, it's about capturing motion and the passage of time in a single frame, creating a feeling of dynamism and flow.
While this technique is commonly associated with tranquil night skies or serene bodies of water, it's time we brought it into the chaotic, bustling realm of street photography. Let's take a journey together through the streets at a slower pace as we explore how to shoot a long exposure shot in street photography.
An Introduction to Long Exposure
Long exposure is a technique that involves using a slow shutter speed to allow your camera to collect a large amount of light over a longer period. By extending the duration your shutter is open, you can capture the motion within your frame, creating an image where static objects remain sharp while moving elements become a blur of motion.
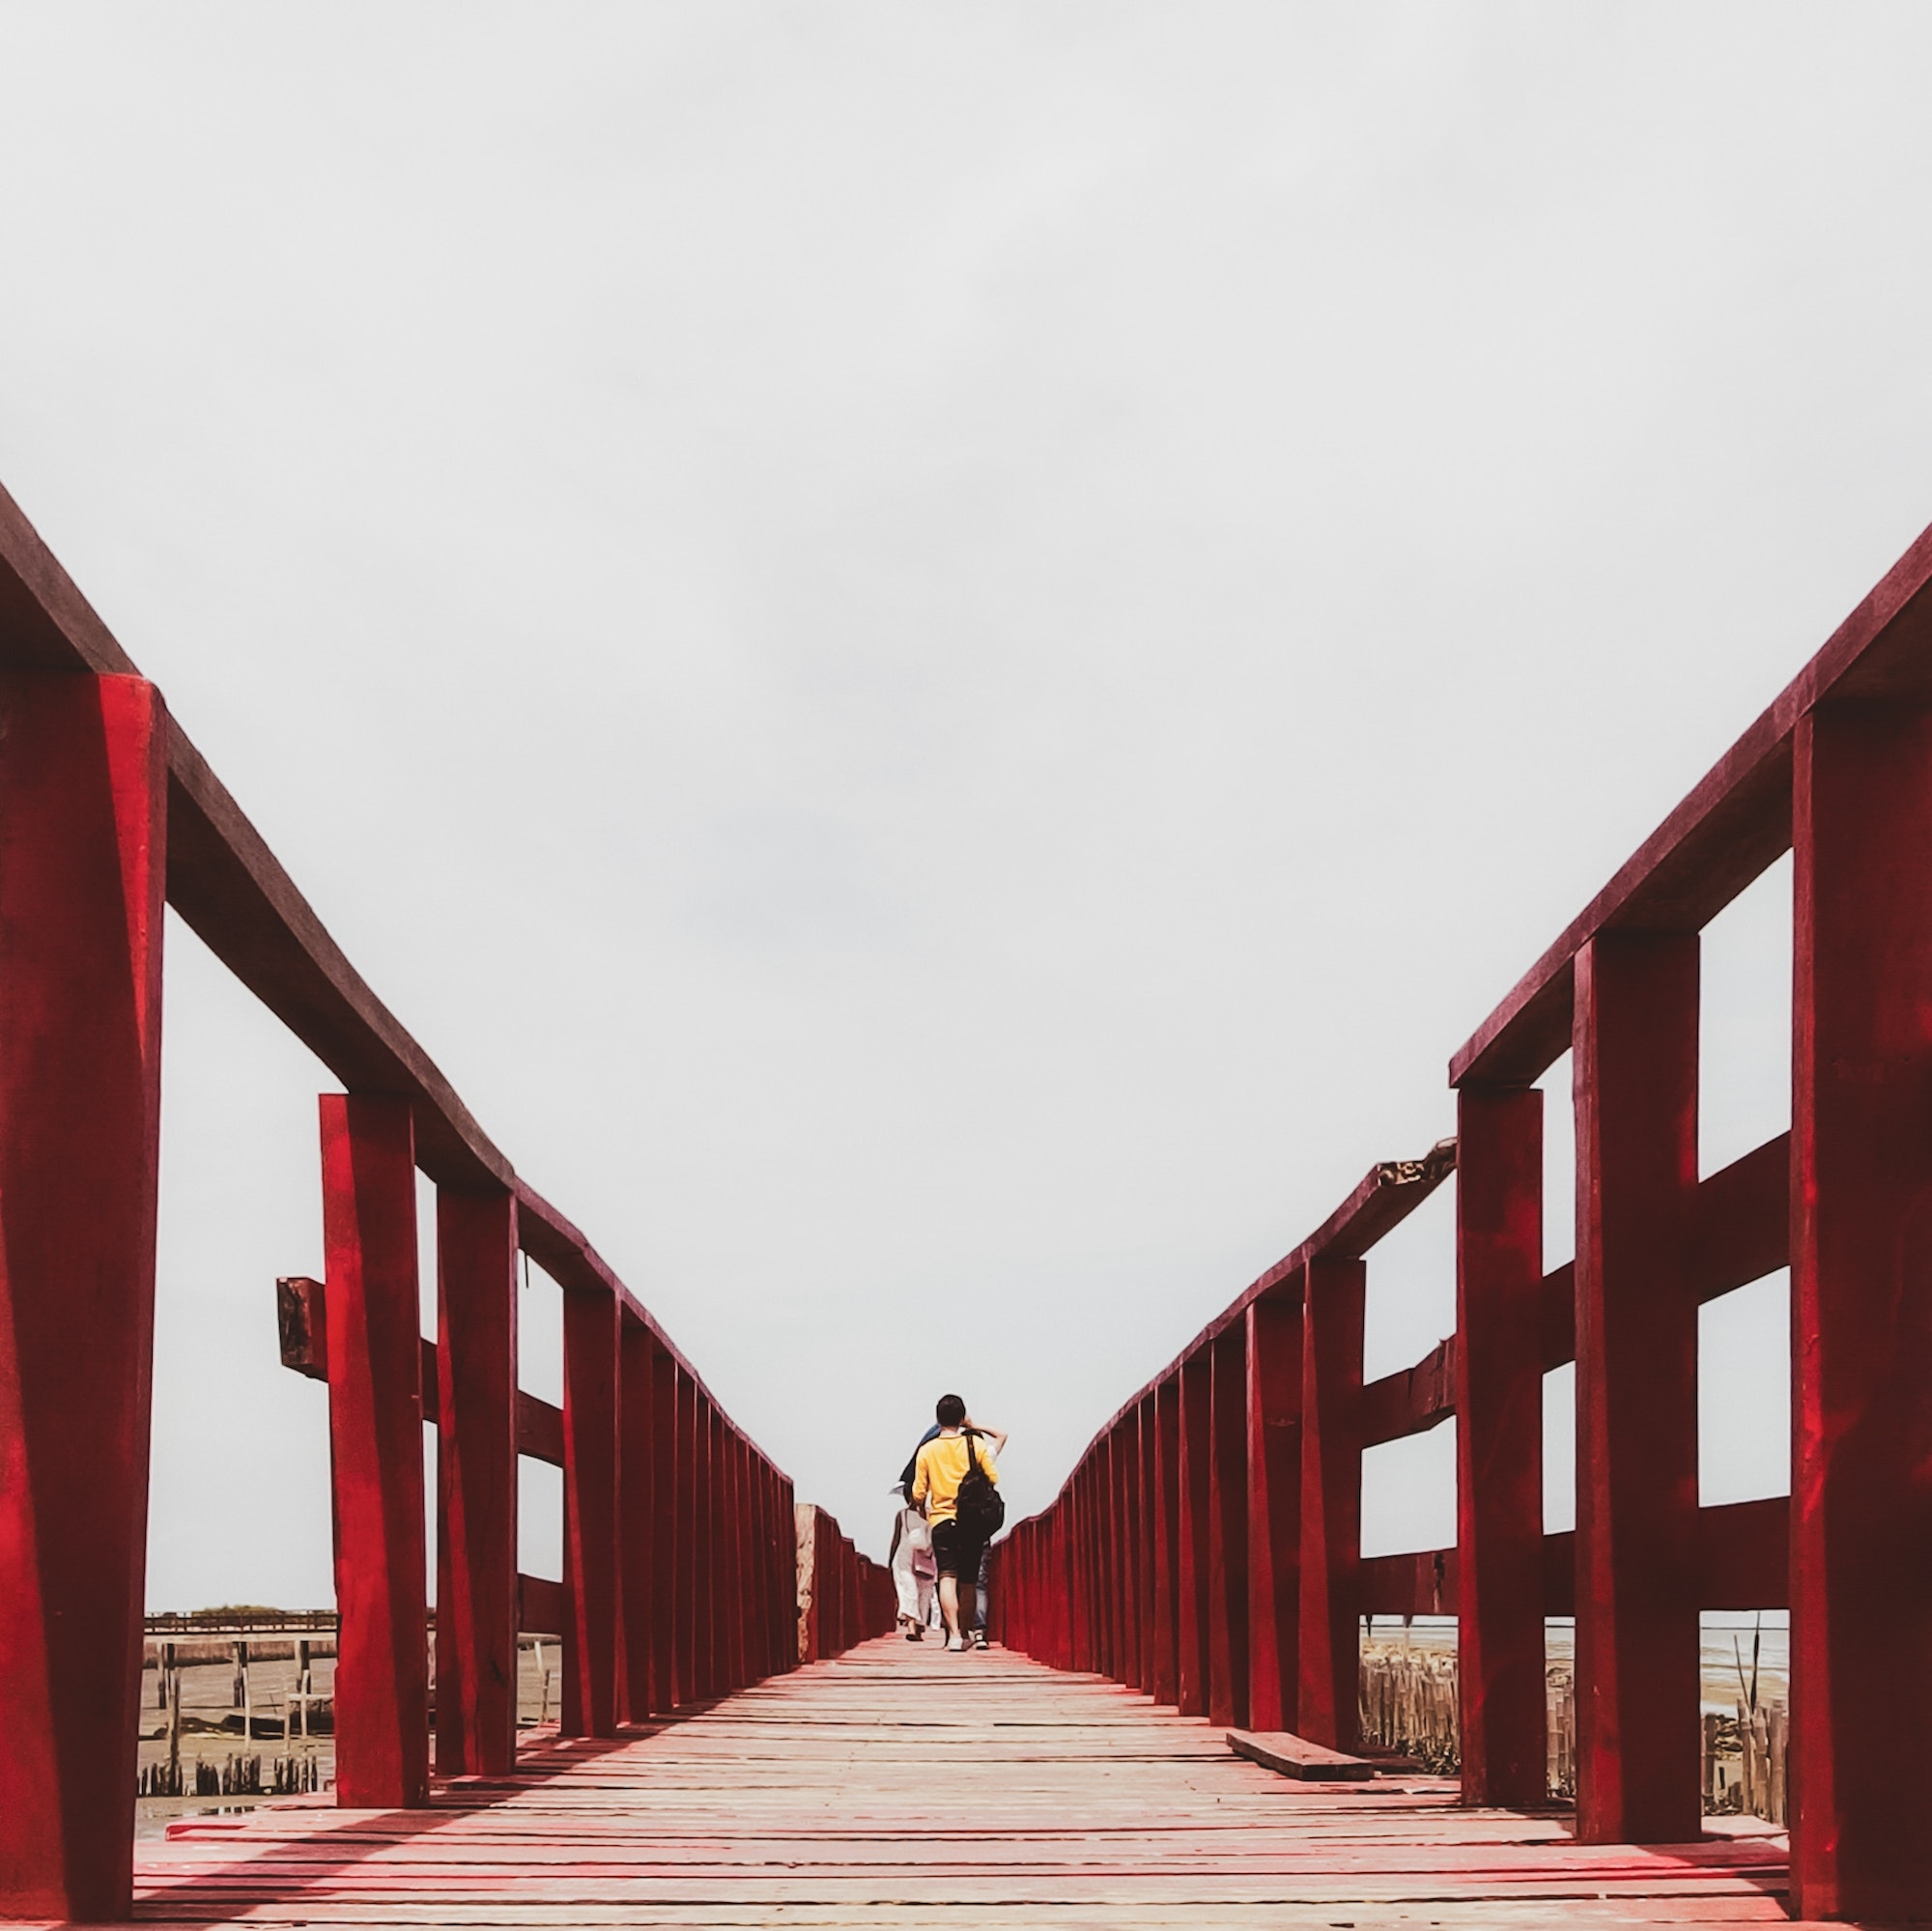
Image Placeholder: Example of long exposure shot with static and moving elements
In street photography, this can lead to some compelling images. Busy streets become rivers of light, bustling crowds transform into ghostly figures, and everyday cityscapes take on a whole new life.
Understanding Your Camera Settings for Long Exposure
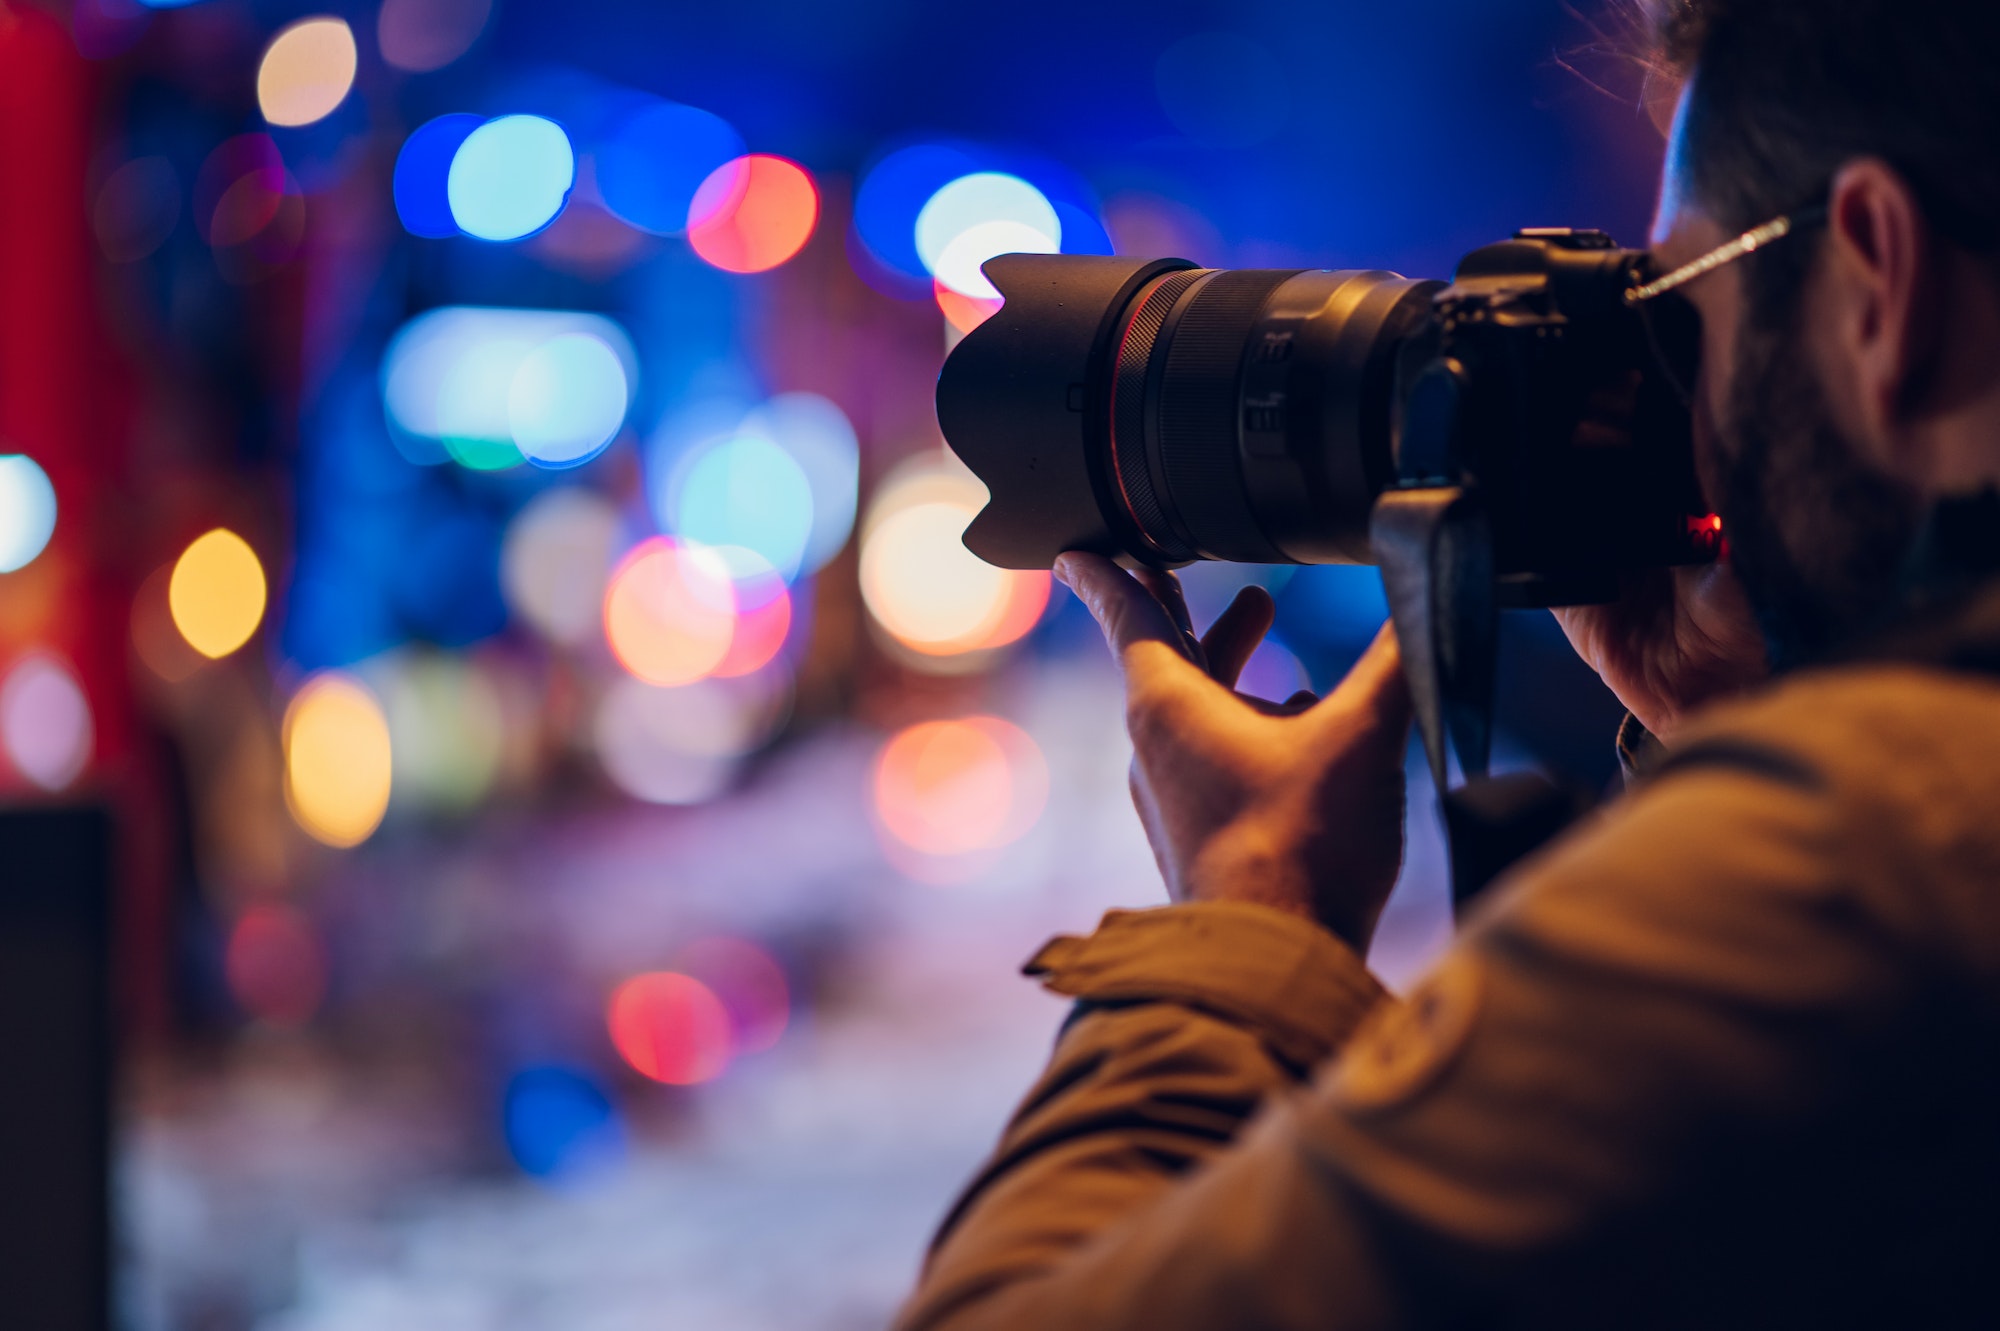
Image Placeholder: Camera with highlighted settings
To create long exposure shots, you need to understand how to manipulate your camera settings, specifically your ISO, aperture, and most importantly, your shutter speed.
- Shutter Speed: Your shutter speed is the length of time your camera's shutter is open and exposing your camera sensor to light. Longer shutter speeds (for instance, 1 second, 5 seconds, 10 seconds, etc.) allow for more movement to be captured in your image.
- Aperture: Your aperture or f-stop determines how wide your lens' opening is, controlling the amount of light entering your camera. A smaller aperture (higher f-stop number) allows less light in, useful for longer exposures in brighter conditions to avoid overexposure.
- ISO: ISO measures your camera's sensitivity to light. A lower ISO is preferable for long exposures as it reduces image noise and allows for longer shutter speeds without overexposing your image.
Remember, every change to one of these settings may require adjusting the others to maintain a balanced exposure.
Gear Needed for Long Exposure Street Photography
While many street photographers value a minimalistic approach to gear, long exposure photography does require some additional tools:
- Camera with Manual Controls: A camera with manual mode is essential. This will allow you to adjust your ISO, shutter speed, and aperture independently.
- Tripod: When capturing a long exposure, even slight camera movements can cause unwanted blur. A sturdy tripod ensures your camera remains still for the duration of the exposure.
- Neutral Density Filter: These are like sunglasses for your camera, reducing the amount of light entering your lens. This is especially useful for long exposures in bright daylight.
Choosing Your Scene
The magic of long exposure street photography comes from the interplay between static and moving elements in your scene. Buildings, monuments, or parked vehicles can provide static components, while bustling crowds, flowing traffic, or even fluttering leaves can offer dynamic movement.
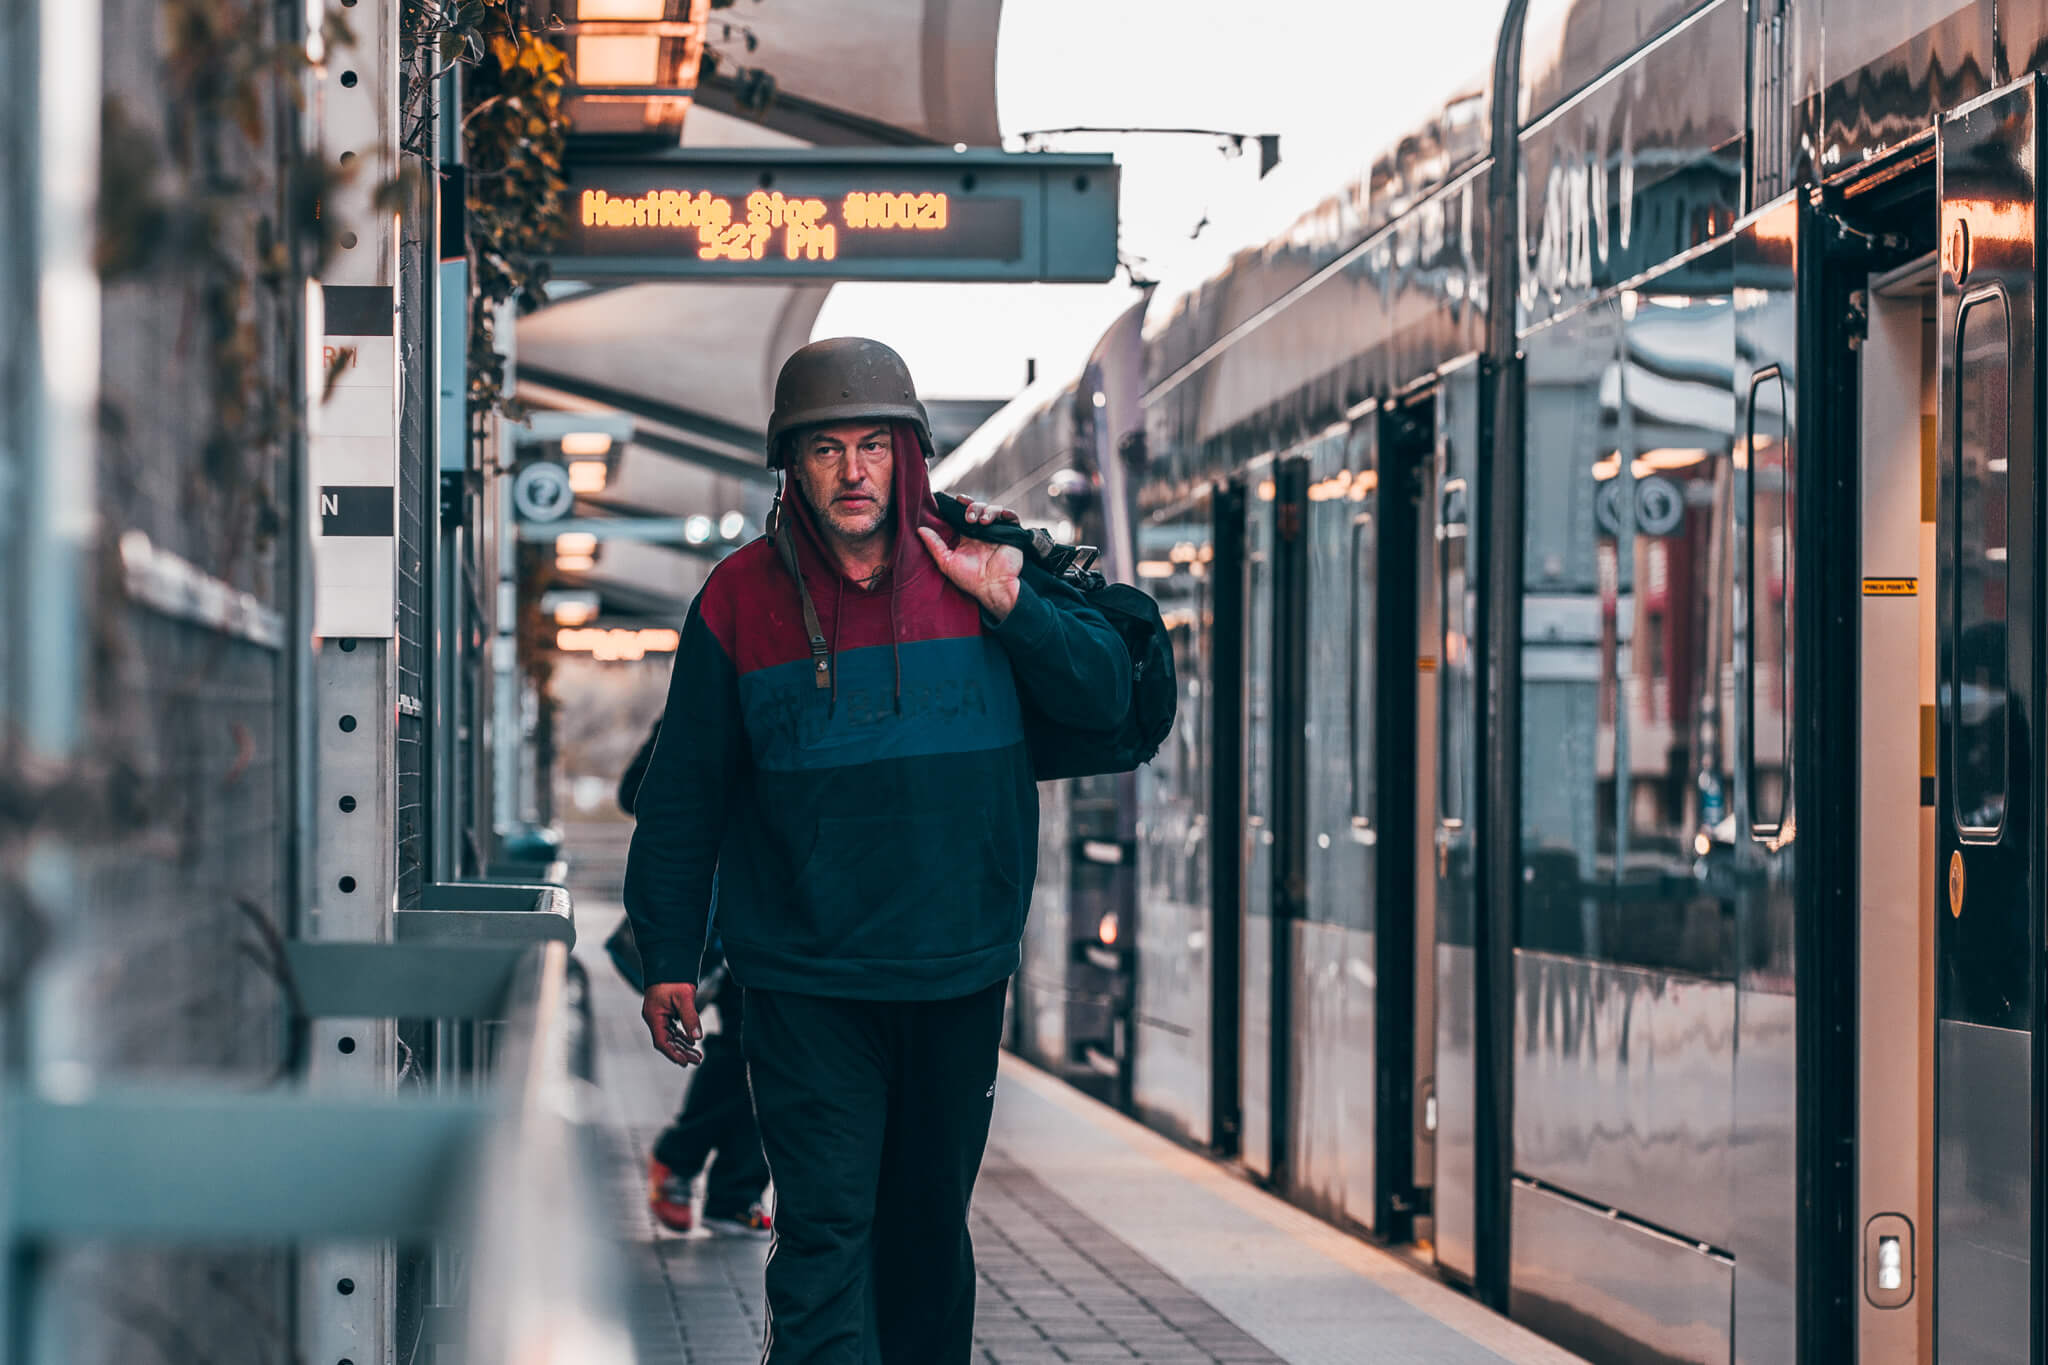
Image Placeholder: Urban scene with potential static and moving elements
Look for scenes with interesting motion. Busy roads, pedestrian crossings, roundabouts, or bustling marketplaces can all make for interesting long exposure shots.
Setting Up Your Shot
Once you've selected your scene, it's time to set up your shot:
- Set Up Your Tripod: Ensure it's secure and that your camera is safely mounted.
- Frame Your Shot: Look through your viewfinder or use your screen to compose your shot.
- Focus: Manual focus can often be more reliable in long exposure photography. Make sure your static elements are sharp.
- Set Your Camera: Start with a low ISO, a mid-range aperture (around f/8 to f/16), and a slower shutter speed (start with 1 second and adjust as needed).
- Attach Your ND Filter: If you're shooting in brighter conditions, attach your ND filter to reduce the light entering your lens.
- Test and Adjust: Take a test shot, review it, and adjust your settings as necessary.
Remember, long exposure photography is often about experimentation and gradual adjustment. Patience and creativity are your allies here.
Post-Processing Your Long Exposure Shots
Once you've captured your long exposures, post-processing can help you further enhance your images:
- Noise Reduction: Longer exposures can sometimes introduce more noise, especially in the darker areas of your image. Most photo editing software includes noise reduction tools to help with this.
- Contrast and Clarity: Enhancing the contrast can help your static elements pop against the motion blur. Increasing clarity can also bring out more detail.
- Color Grading: Long exposures can result in unique color effects, especially during "golden hour" or at night. Feel free to experiment with different color grading options to create the mood you're after.
Overcoming Challenges in Long Exposure Street Photography
Street photography is dynamic and unpredictable, and combining it with long exposure can introduce some unique challenges. Here are some tips to help you navigate these potential hurdles:
- Changing Light Conditions: Especially during dawn or dusk, the light can change rapidly. Monitor your exposure and adjust your settings as necessary to maintain a balanced shot.
- Unwanted Elements: Things like unexpected light flares or intrusive objects can sometimes enter your frame. Be ready to recompose or wait for the right moment.
- Static Elements: People or objects that you assumed would move can unexpectedly become static, changing the dynamics of your shot. Adapt your composition as needed, or embrace these surprises as a part of the unique charm of street photography.
Long Exposure Assignments to Test Your Skills
Ready to take your street photography to another dimension? Here are a few assignments you can use to practice your long exposure technique:
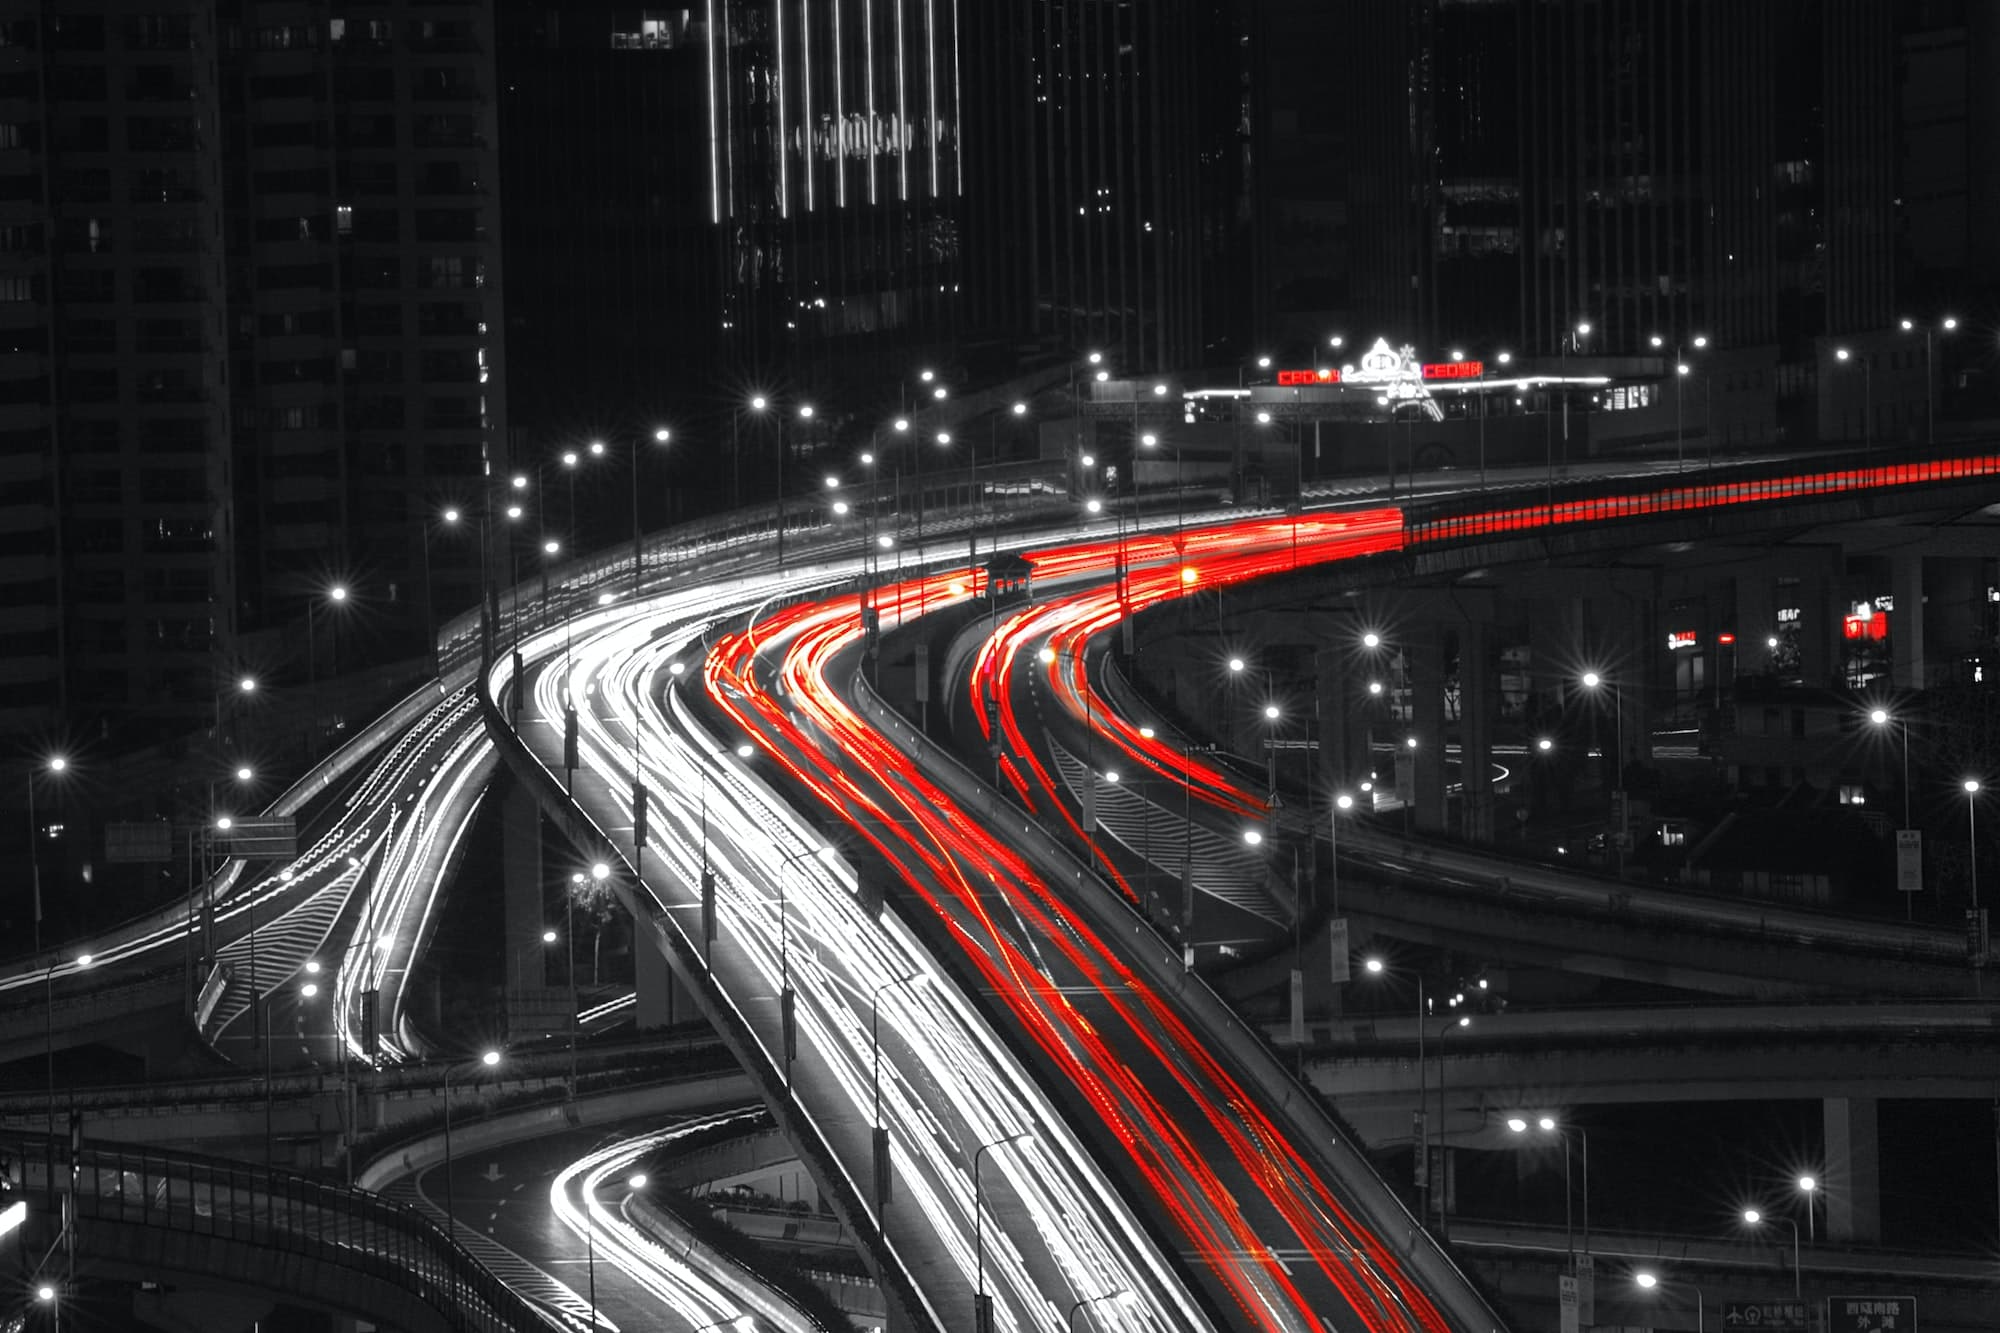
- Light Trails on Main Street: Find a busy road in your city during evening rush hour. Use long exposure to capture the trails of light from moving vehicles.
- The Ghosts of the City: Find a bustling pedestrian area, like a city square or marketplace. With a long exposure, the moving crowd will become a blur, transforming into 'ghosts.'
- Rivers of Color: Capture a busy night scene with lots of colorful lights, like a city skyline or a night market. The long exposure will turn these lights into rivers of color.
A Word of Encouragement
Mastering long exposure in street photography requires practice and patience, but the results can be worth the effort. It's a fantastic way to introduce a fresh perspective to your street photography, and it's a skill that can set your work apart.
Remember, every street photographer has their own unique vision, and long exposure is just one more tool you can use to bring your vision to life. Now it's your turn to hit the streets, slow down the world around you, and create something truly magical. Happy shooting!