Mastering Aperture in Street Photography: What You Need to Know
Aperture is a fundamental concept in photography that plays a crucial role in determining the exposure, depth of field, and overall aesthetic of your images. For street photographers, understanding how to effectively use aperture can make the difference between an ordinary snapshot and a compelling piece of art. In this comprehensive guide, we’ll explore everything you need to know about aperture in street photography, including how to choose the right aperture settings for different situations, the impact of aperture on your photos, and practical tips to help you get the best results.
Introduction to Aperture
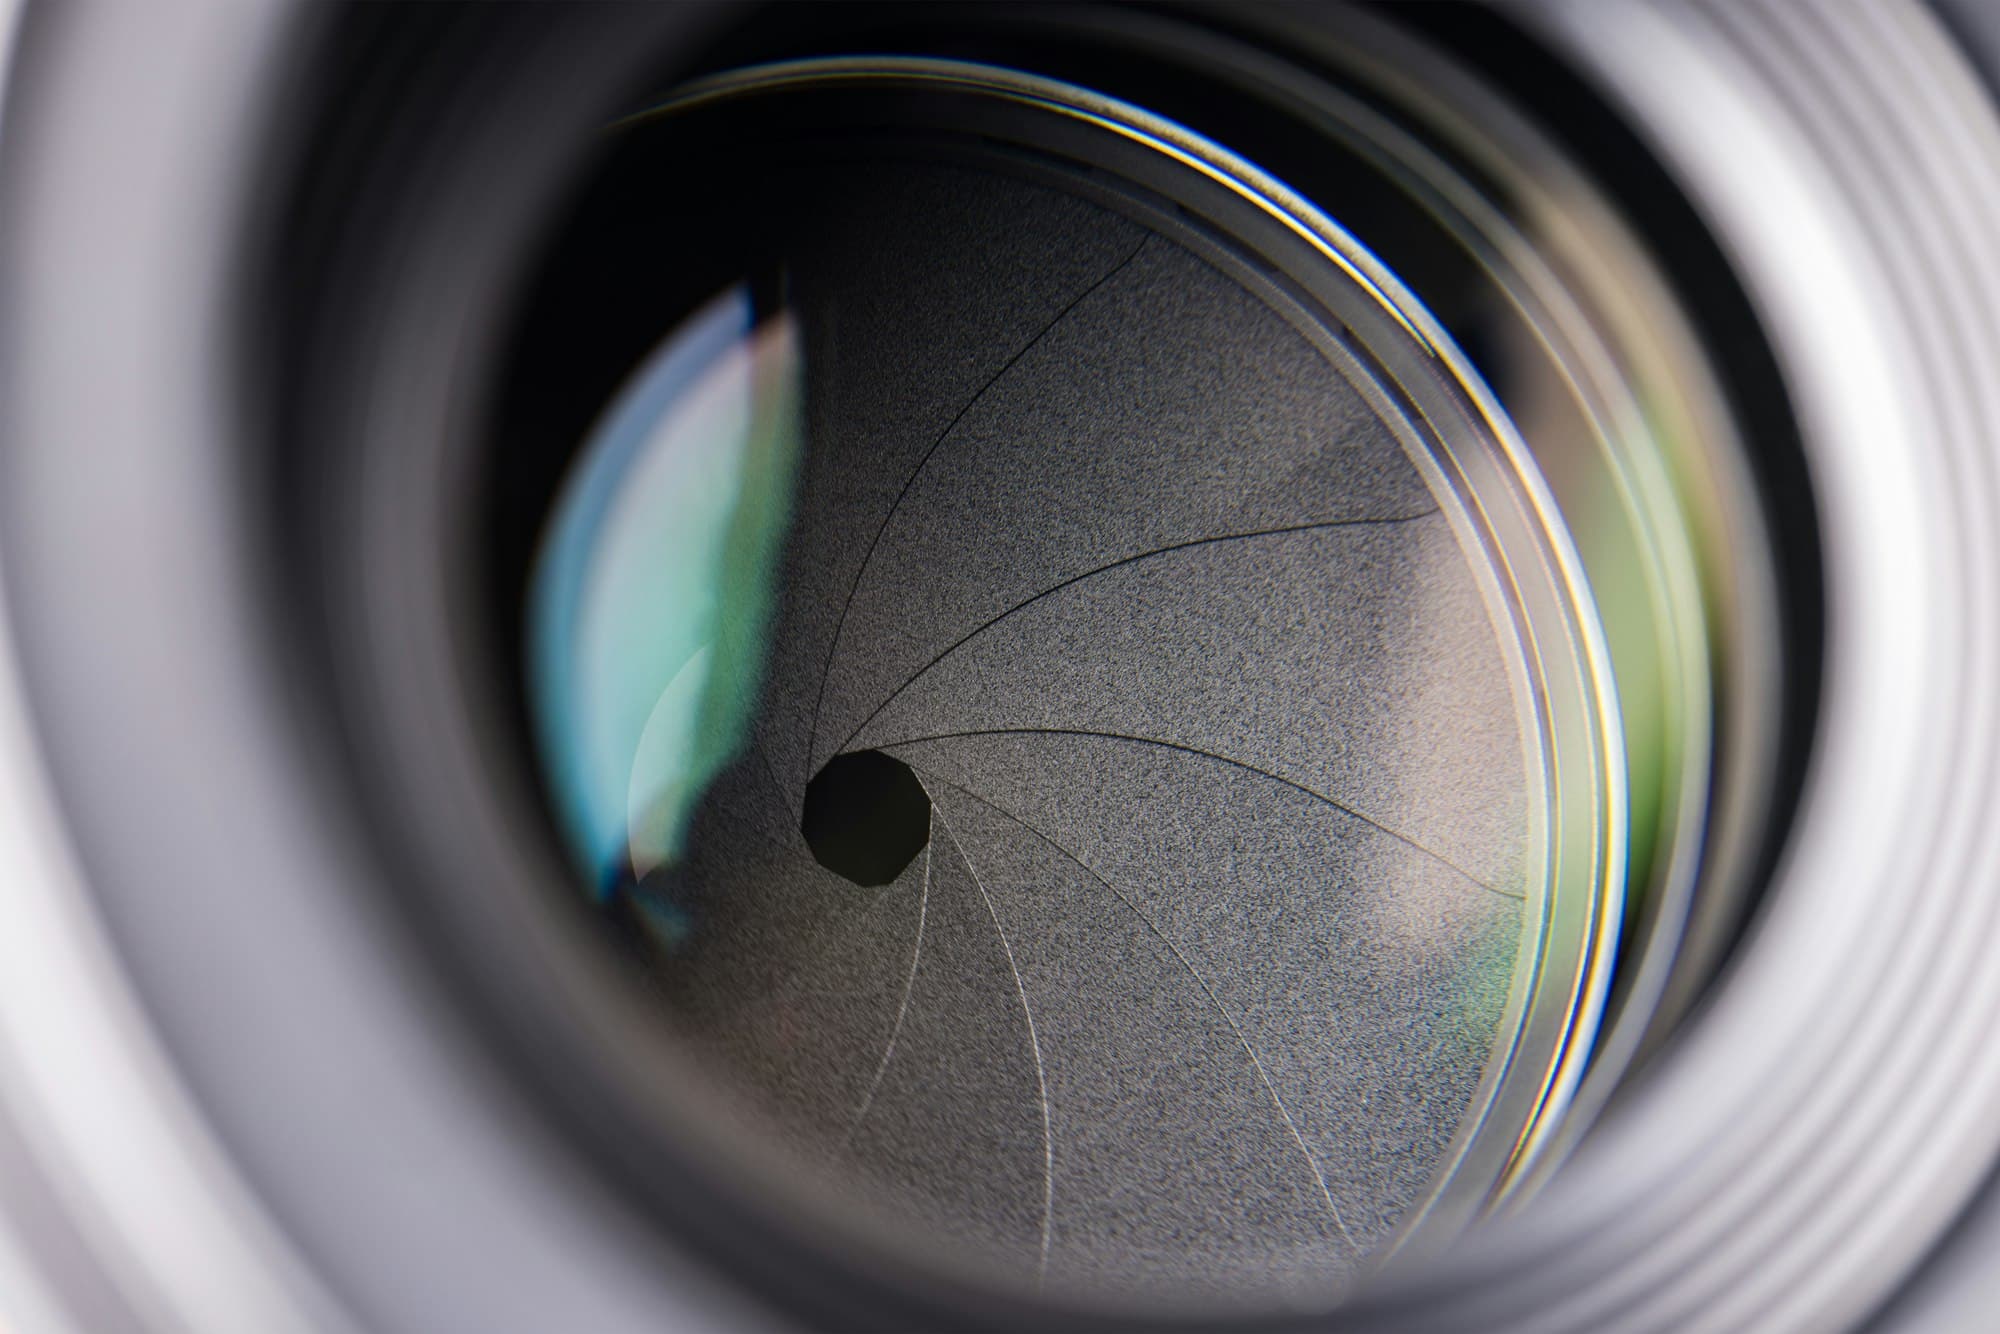
Aperture refers to the opening in a camera lens through which light passes to enter the camera body. It is measured in f-stops, such as f/1.4, f/2.8, f/5.6, and f/16. The f-stop value represents the ratio of the lens’s focal length to the diameter of the aperture. A lower f-stop number indicates a larger aperture, while a higher f-stop number indicates a smaller aperture.
Key Concepts:
- F-Stop: The unit of measurement for aperture size.
- Depth of Field: The range of distance within a photo that appears acceptably sharp. Controlled by aperture size.
- Exposure: The amount of light that reaches the camera sensor, influenced by aperture size.
How Aperture Affects Your Photos
Aperture impacts several aspects of your photos, including depth of field, exposure, and sharpness. Understanding these effects is essential for making informed decisions about aperture settings in street photography.
Depth of Field:
- Shallow Depth of Field (Low f-stop): A larger aperture (e.g., f/1.4) results in a shallow depth of field, where only a small part of the image is in focus. This effect is often used to isolate subjects from their backgrounds, creating a pleasing bokeh effect.
- Deep Depth of Field (High f-stop): A smaller aperture (e.g., f/16) results in a deep depth of field, where much of the image is in focus. This is useful for capturing detailed scenes with multiple elements.
Exposure:
- Bright Conditions: In bright conditions, a smaller aperture (higher f-stop) can help prevent overexposure by limiting the amount of light entering the camera.
- Low-Light Conditions: In low-light conditions, a larger aperture (lower f-stop) allows more light to enter the camera, helping to achieve a proper exposure without raising the ISO too much.
Sharpness and Lens Performance:
- Lens Sweet Spot: Most lenses have an aperture range where they perform best in terms of sharpness and minimal optical aberrations. This is typically found between f/5.6 and f/8.
Choosing the Right Aperture for Street Photography
Selecting the appropriate aperture for street photography depends on various factors, including the lighting conditions, the desired depth of field, and the specific scene you’re capturing.
Factors to Consider:
- Lighting Conditions: Adjust your aperture based on the available light. In bright daylight, a smaller aperture (e.g., f/8) can help avoid overexposure, while in low-light situations, a larger aperture (e.g., f/2.8) can help gather more light.
- Depth of Field: Decide whether you want a shallow or deep depth of field. For isolating subjects, a larger aperture (e.g., f/2) is ideal. For capturing more of the scene in focus, a smaller aperture (e.g., f/11) works better.
- Lens Performance: Be aware of your lens’s optimal aperture range to ensure sharp and high-quality images.
Common Aperture Settings and Their Uses
Understanding the common aperture settings and their practical applications can help you make better choices in the field.
Wide Aperture (f/1.4 to f/2.8):
- Uses: Ideal for low-light conditions, creating a shallow depth of field, and isolating subjects from the background.
- Examples: Portraits, night street photography, and artistic shots with bokeh.
Mid-Range Aperture (f/4 to f/8):
- Uses: Provides a balance between depth of field and light gathering. Suitable for general street photography and when you want both subject and background to be in focus.
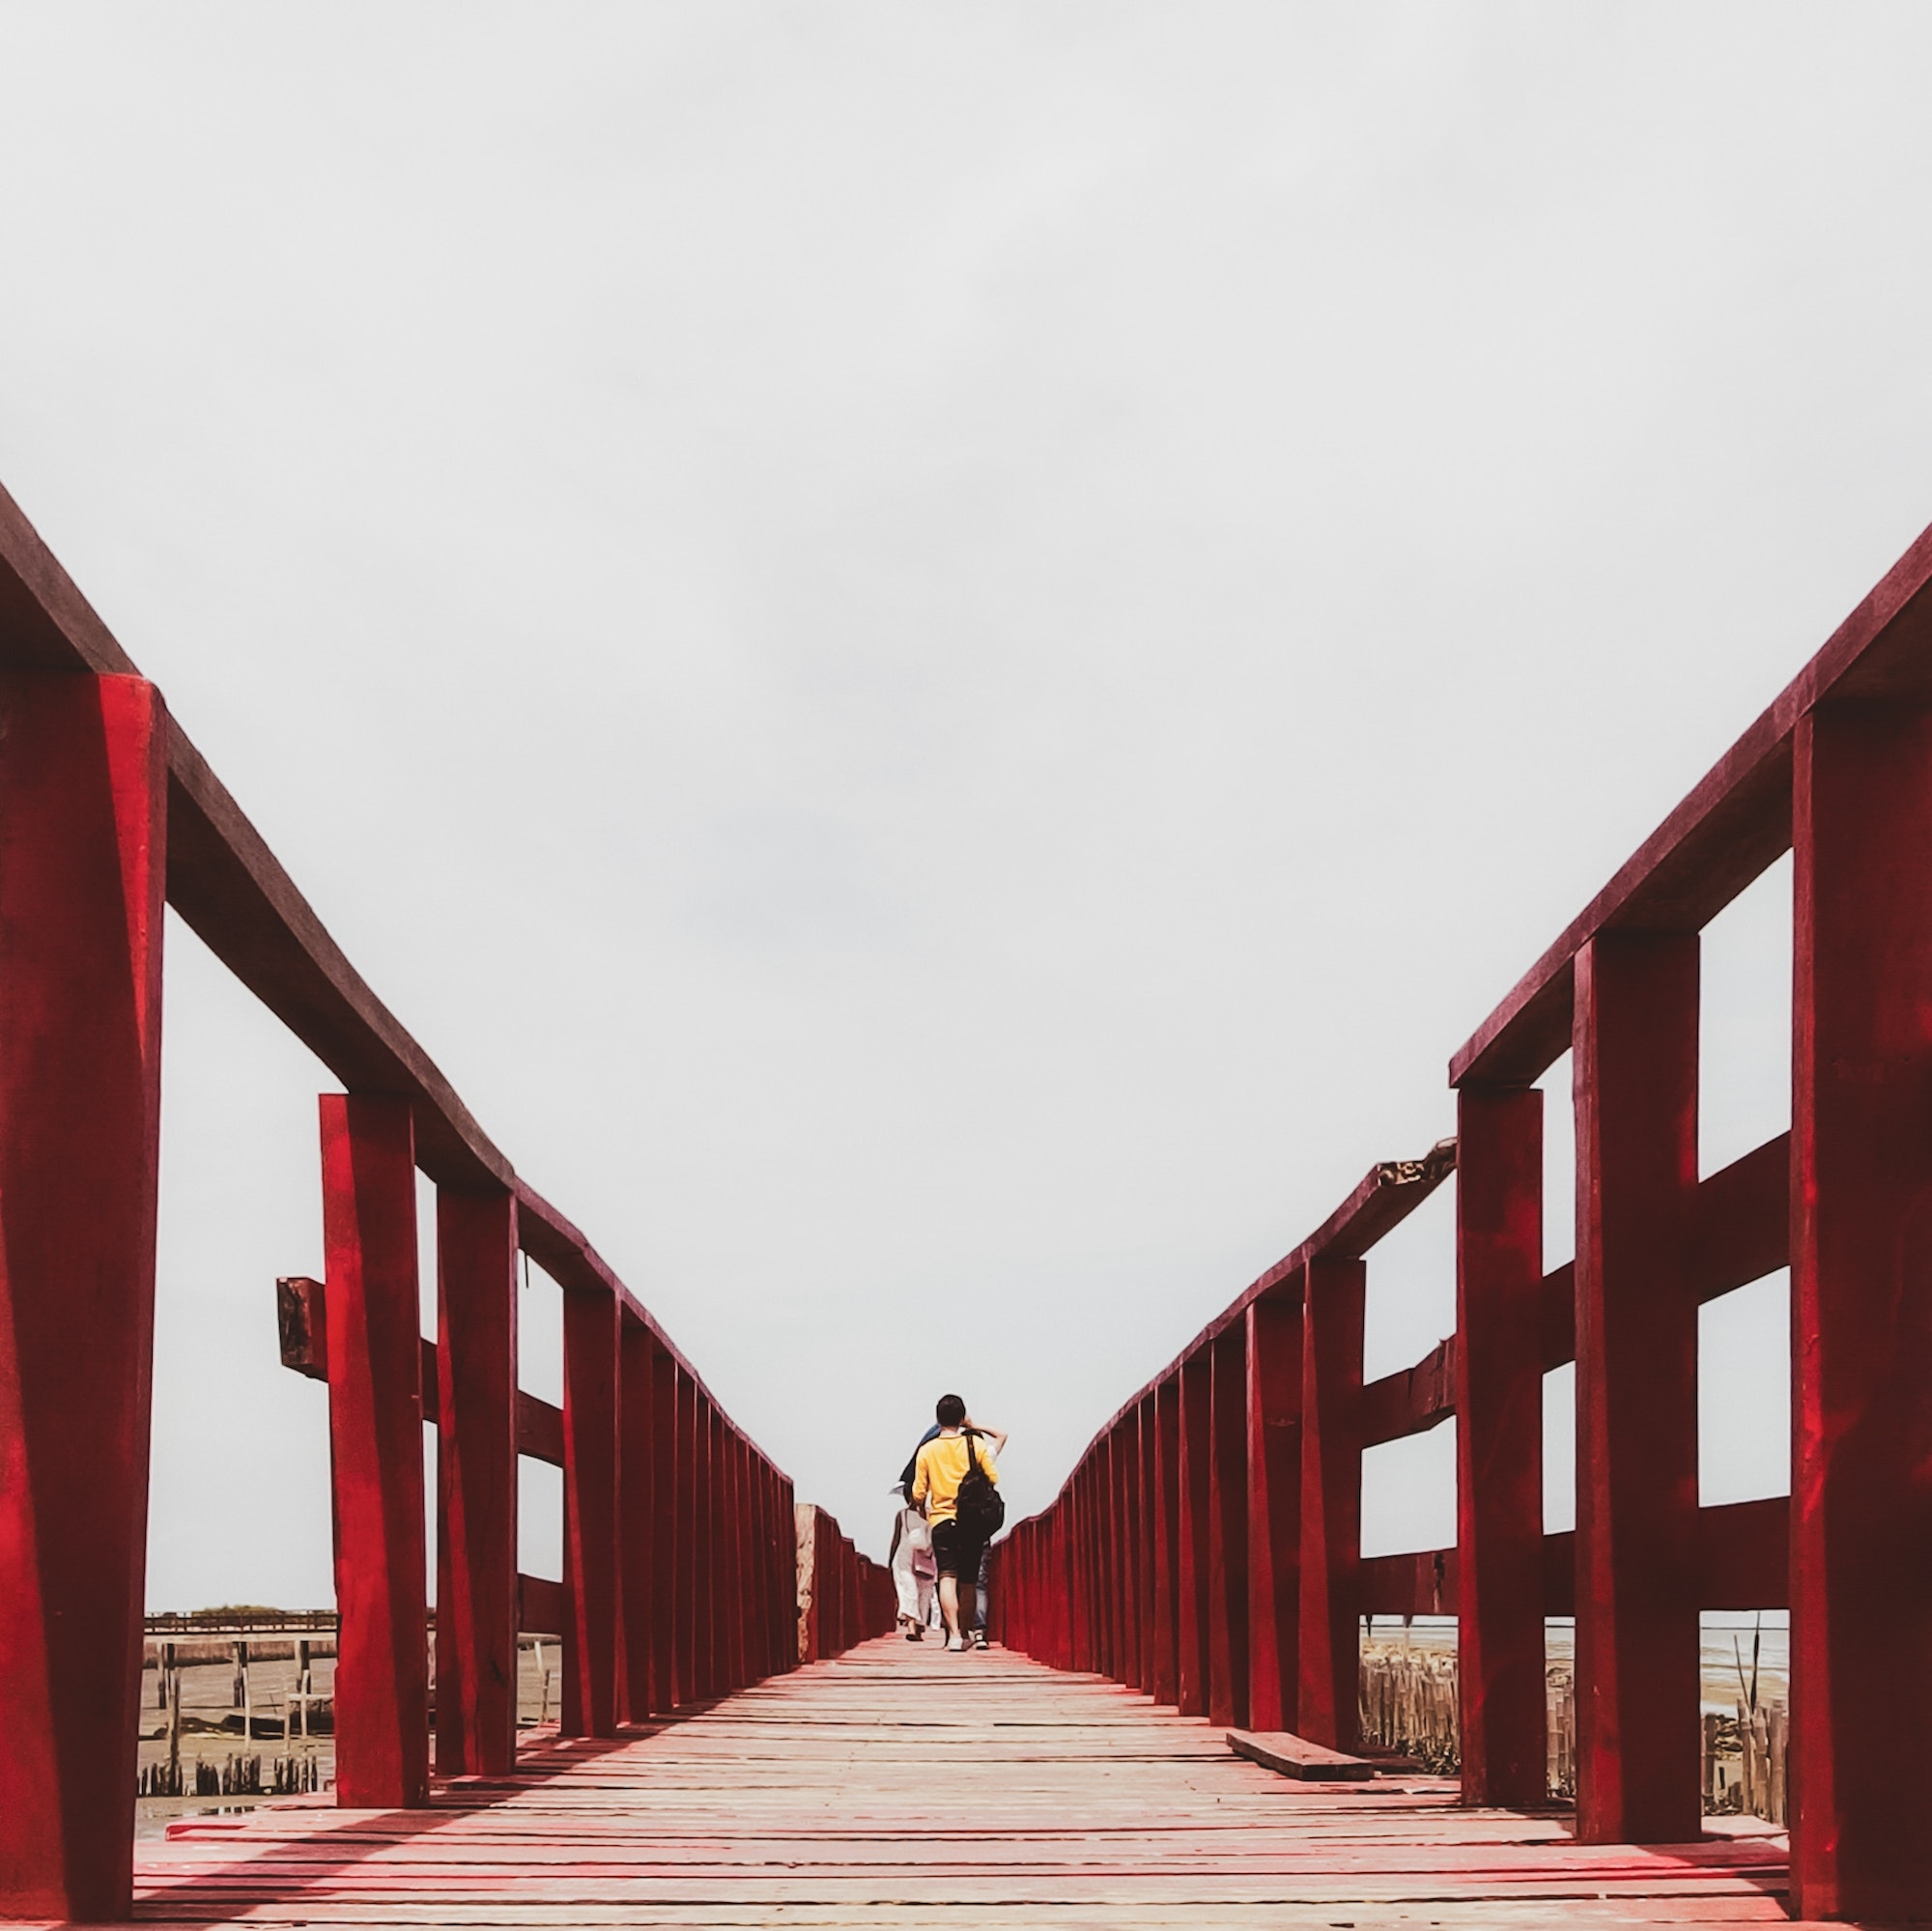
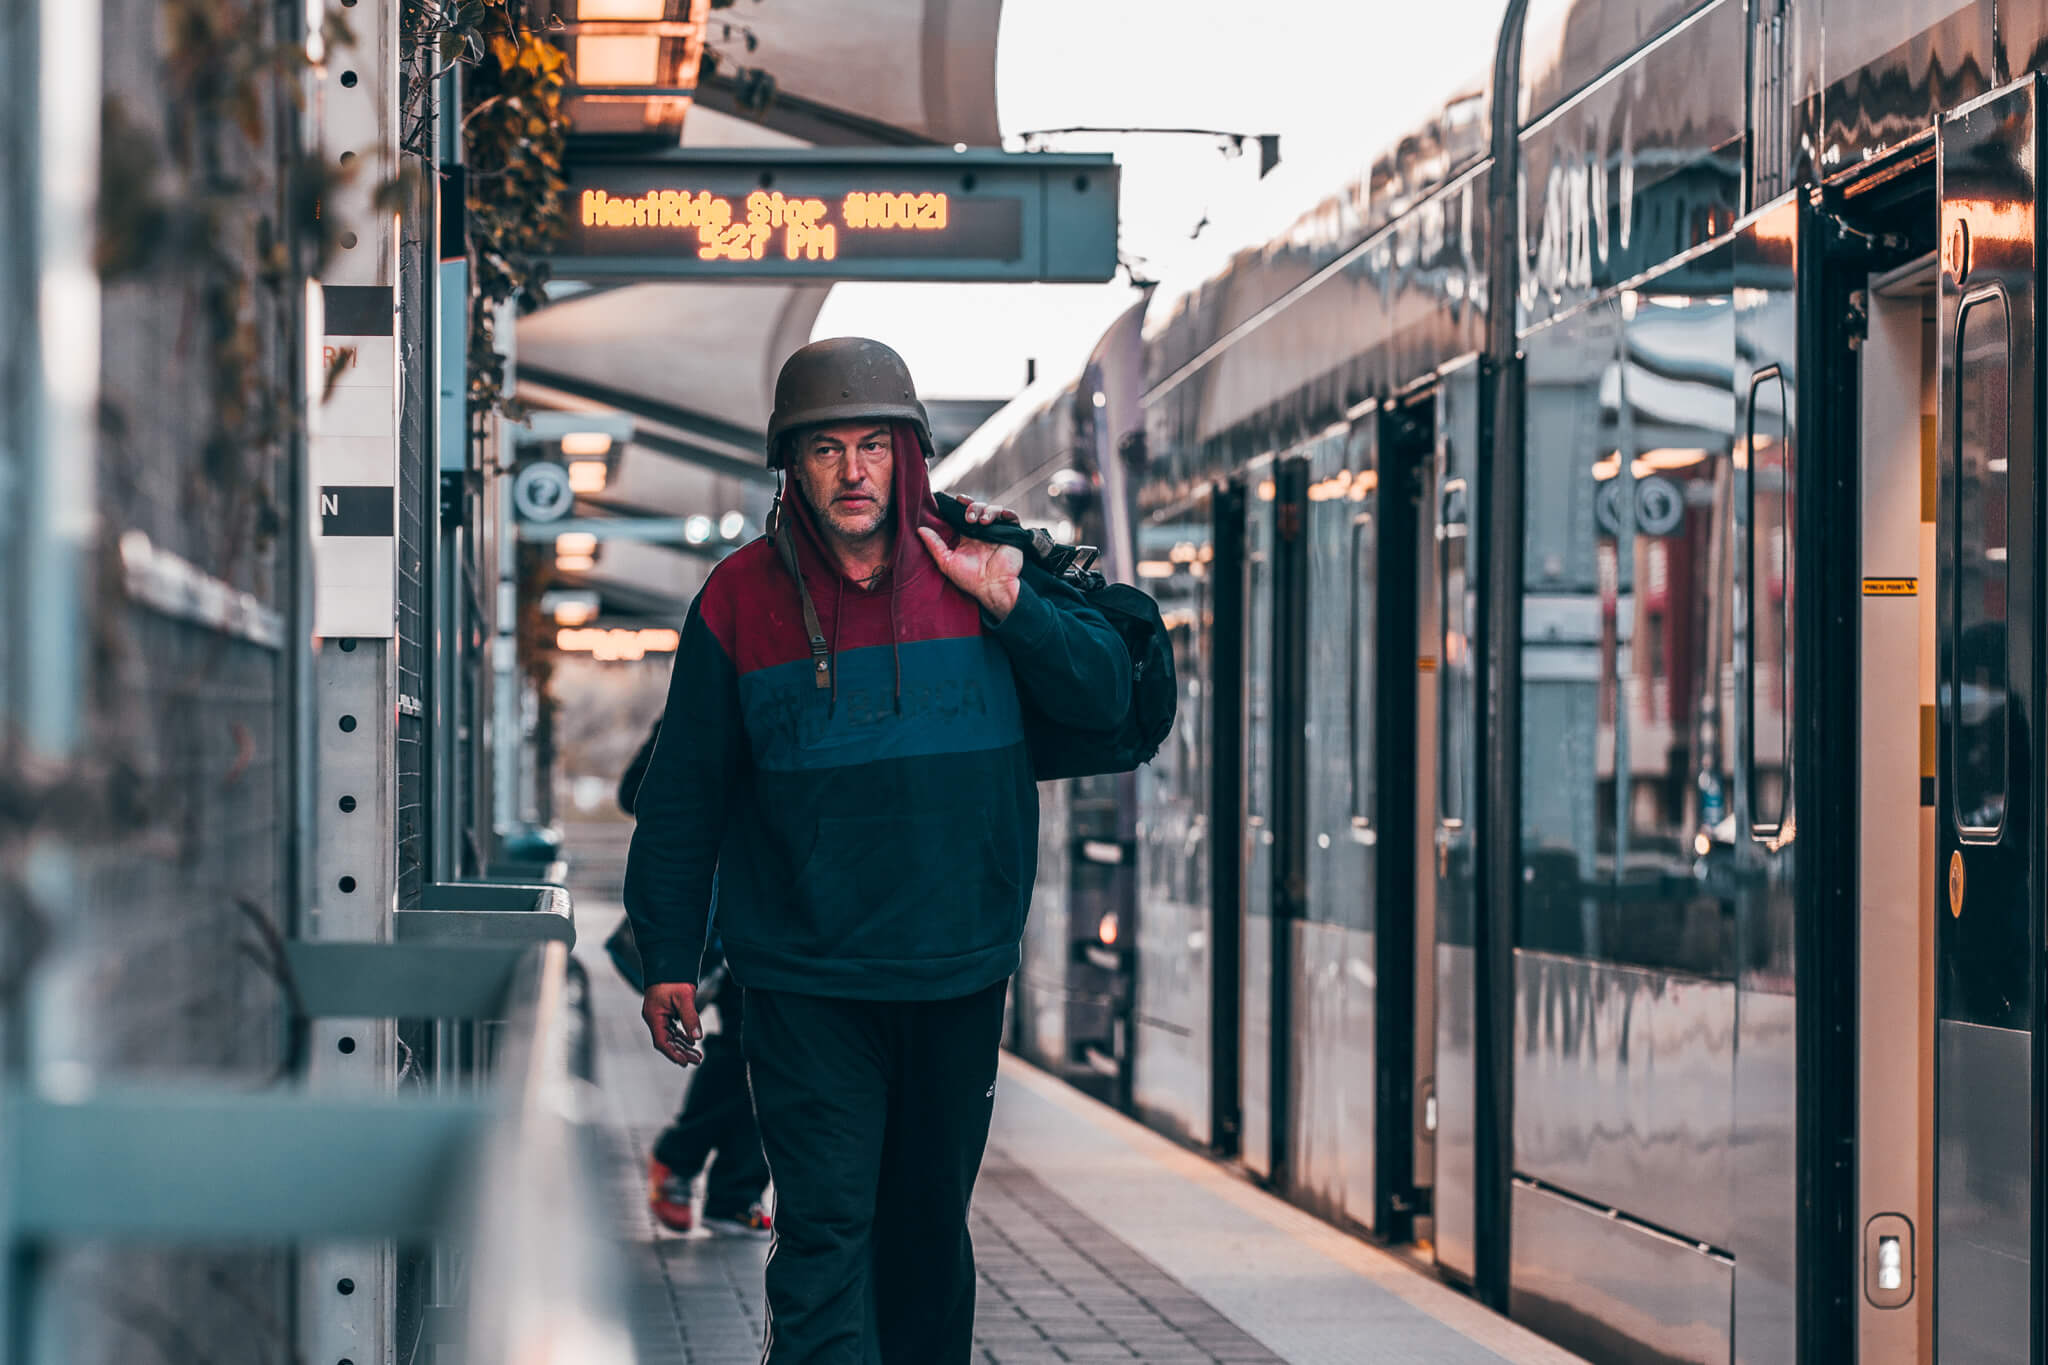
- Examples: Daytime street scenes, group shots, and environmental portraits.
Narrow Aperture (f/11 to f/16):
- Uses: Maximizes depth of field, ensuring that everything from the foreground to the background is in focus. Useful in bright conditions and for capturing detailed scenes.
- Examples: Landscapes, architecture, and street scenes with multiple layers of interest.
Balancing Aperture with Shutter Speed and ISO
Aperture is just one element of the exposure triangle, which also includes shutter speed and ISO. Balancing these three settings is crucial for achieving the desired exposure and effect in your photos.
Shutter Speed:
- Fast Shutter Speed: Use a fast shutter speed to freeze motion, which is essential in dynamic street scenes. Pair this with a larger aperture (e.g., f/2.8) to maintain proper exposure.
- Slow Shutter Speed: A slower shutter speed can capture motion blur, adding a sense of movement to your photos. In this case, a smaller aperture (e.g., f/11) can help prevent overexposure.
ISO:
- Low ISO: Use the lowest ISO setting possible to minimize noise and maintain image quality. In bright conditions, you can afford to keep the ISO low and adjust the aperture and shutter speed accordingly.
- High ISO: In low-light conditions, raising the ISO allows you to use a smaller aperture or faster shutter speed. Be mindful of the increased noise that comes with higher ISO settings.
Practical Tips for Using Aperture in Street Photography
Here are some practical tips to help you make the most of your aperture settings in street photography:
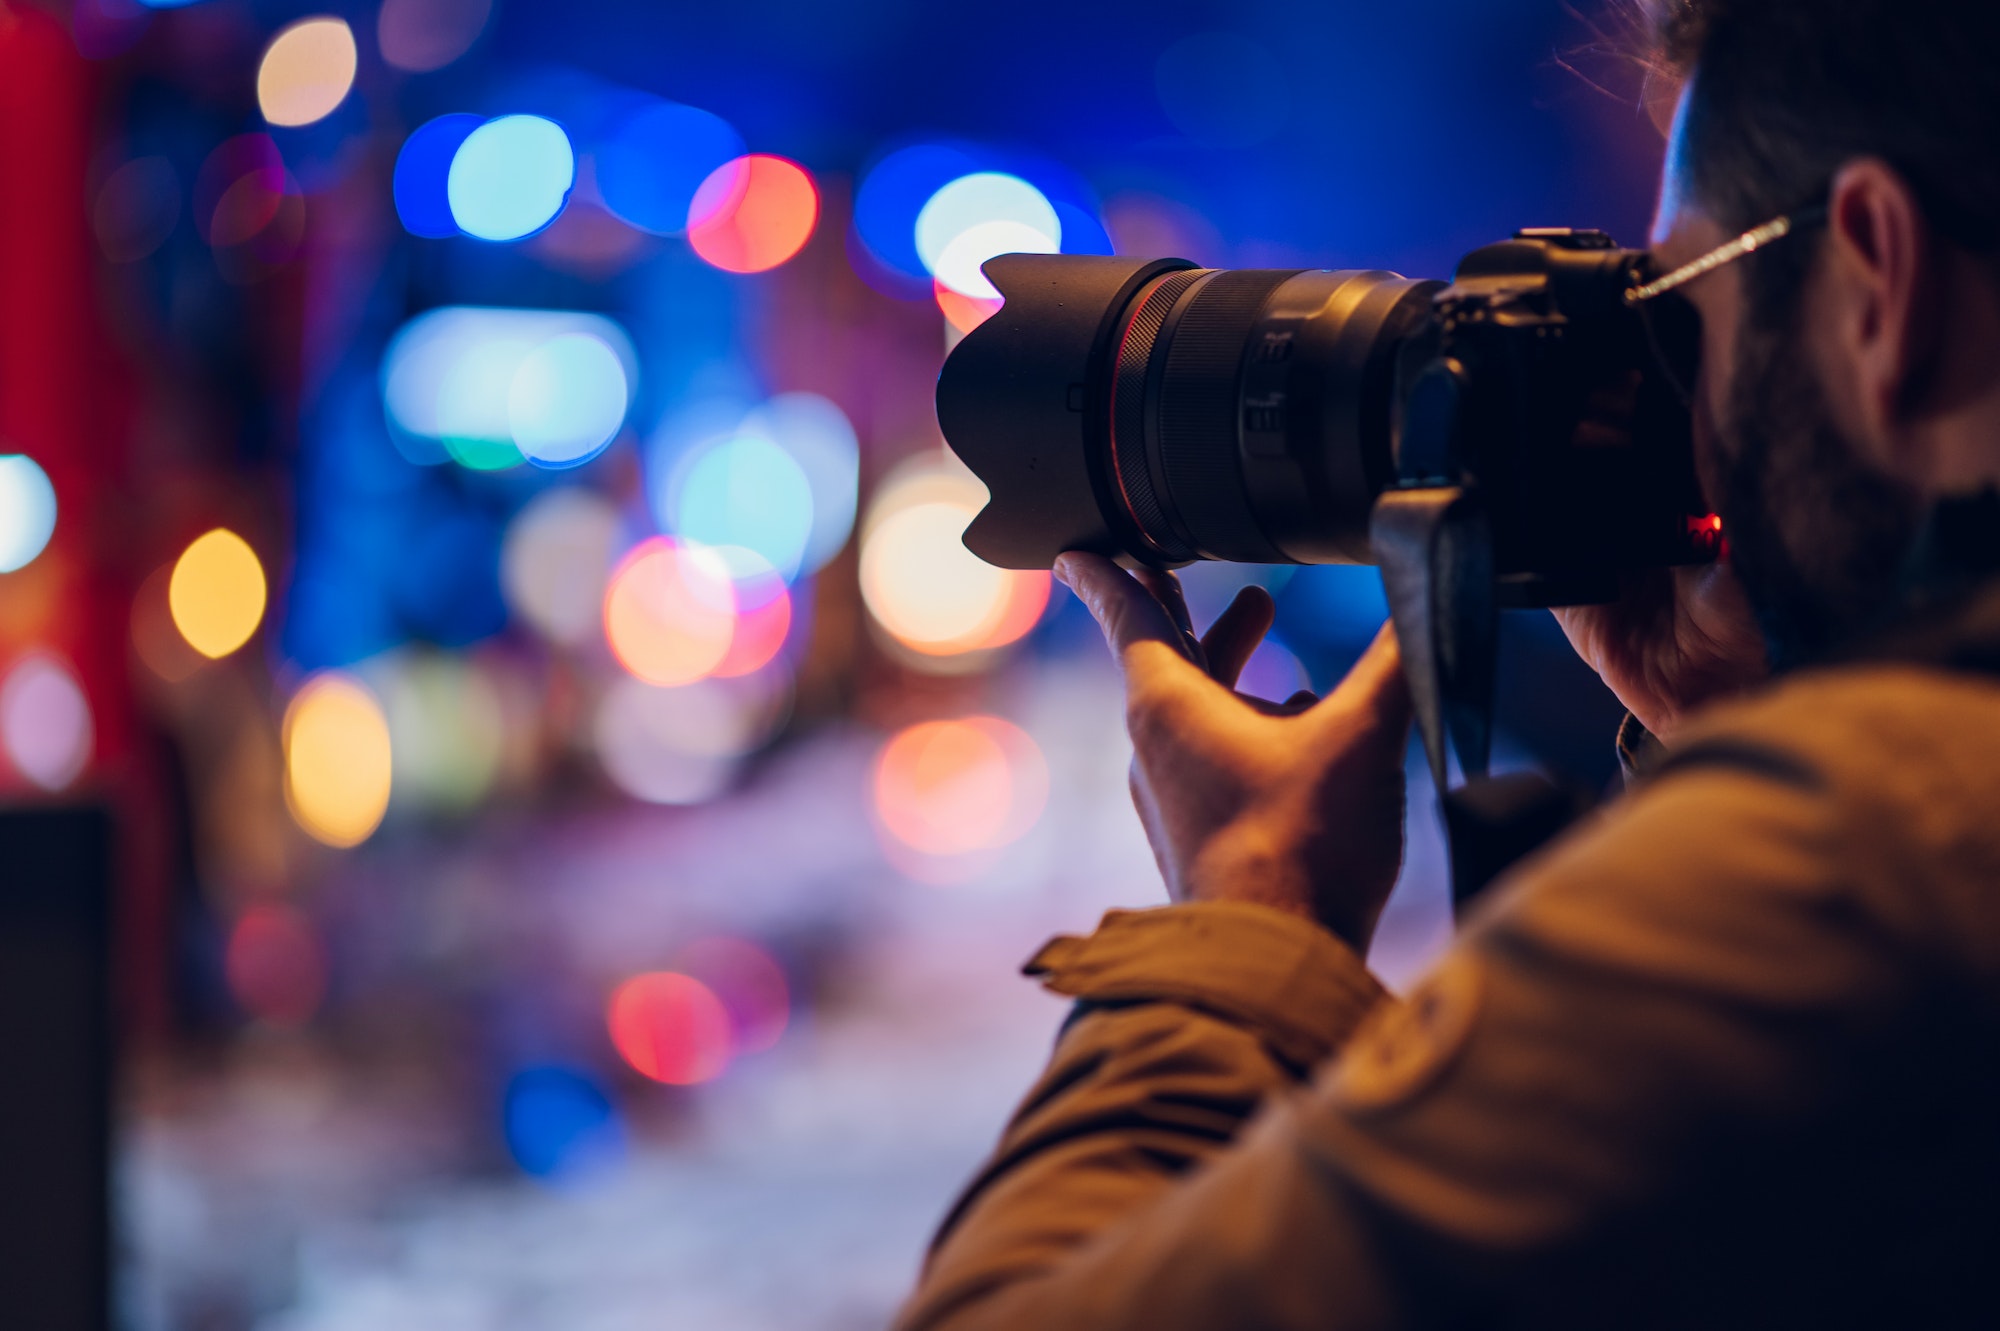
Experiment with Aperture Priority Mode:
- Aperture Priority Mode: This camera mode allows you to set the aperture while the camera automatically adjusts the shutter speed. It’s a useful mode for quickly adapting to changing light conditions and focusing on composition.
Zone Focusing:
- Technique: Pre-focus your lens to a specific distance and use a small aperture (e.g., f/8) to maximize the depth of field. This technique is useful for capturing fast-moving subjects without having to refocus constantly.
Hyperfocal Distance:
- Technique: Calculate the hyperfocal distance for your chosen aperture and focal length. Focusing at this distance ensures that everything from half the hyperfocal distance to infinity is acceptably sharp.
Adapting to Different Lighting Conditions:
- Bright Conditions: Use a smaller aperture (e.g., f/11) to prevent overexposure and maintain a deep depth of field.
- Low-Light Conditions: Open up the aperture (e.g., f/2.8) to gather more light, but be mindful of the shallow depth of field.
Creative Use of Depth of Field:
- Isolate Subjects: Use a large aperture (e.g., f/1.8) to create a shallow depth of field, isolating your subject from a busy background.
- Include Context: Use a small aperture (e.g., f/16) to capture detailed scenes with multiple layers, providing context and storytelling elements.
Lens Considerations:
- Prime Lenses: Typically have larger maximum apertures (e.g., f/1.4) and are great for low-light conditions and achieving a shallow depth of field.
- Zoom Lenses: Offer flexibility but may have variable maximum apertures. Ensure you know the capabilities of your lens to make the most of it.
To End Things
Mastering aperture is essential for any street photographer looking to capture compelling and dynamic images. By understanding how aperture affects depth of field, exposure, and image quality, you can make informed decisions about your camera settings. Remember to balance aperture with shutter speed and ISO to achieve the desired effect in your photos. Experiment with different apertures, adapt to varying lighting conditions, and use creative techniques to bring your street photography to the next level. With practice and patience, you’ll develop an intuitive sense of how to use aperture to create stunning street photographs that tell powerful stories.