Mastering the Art of Editing Street Photography: A Comprehensive Guide
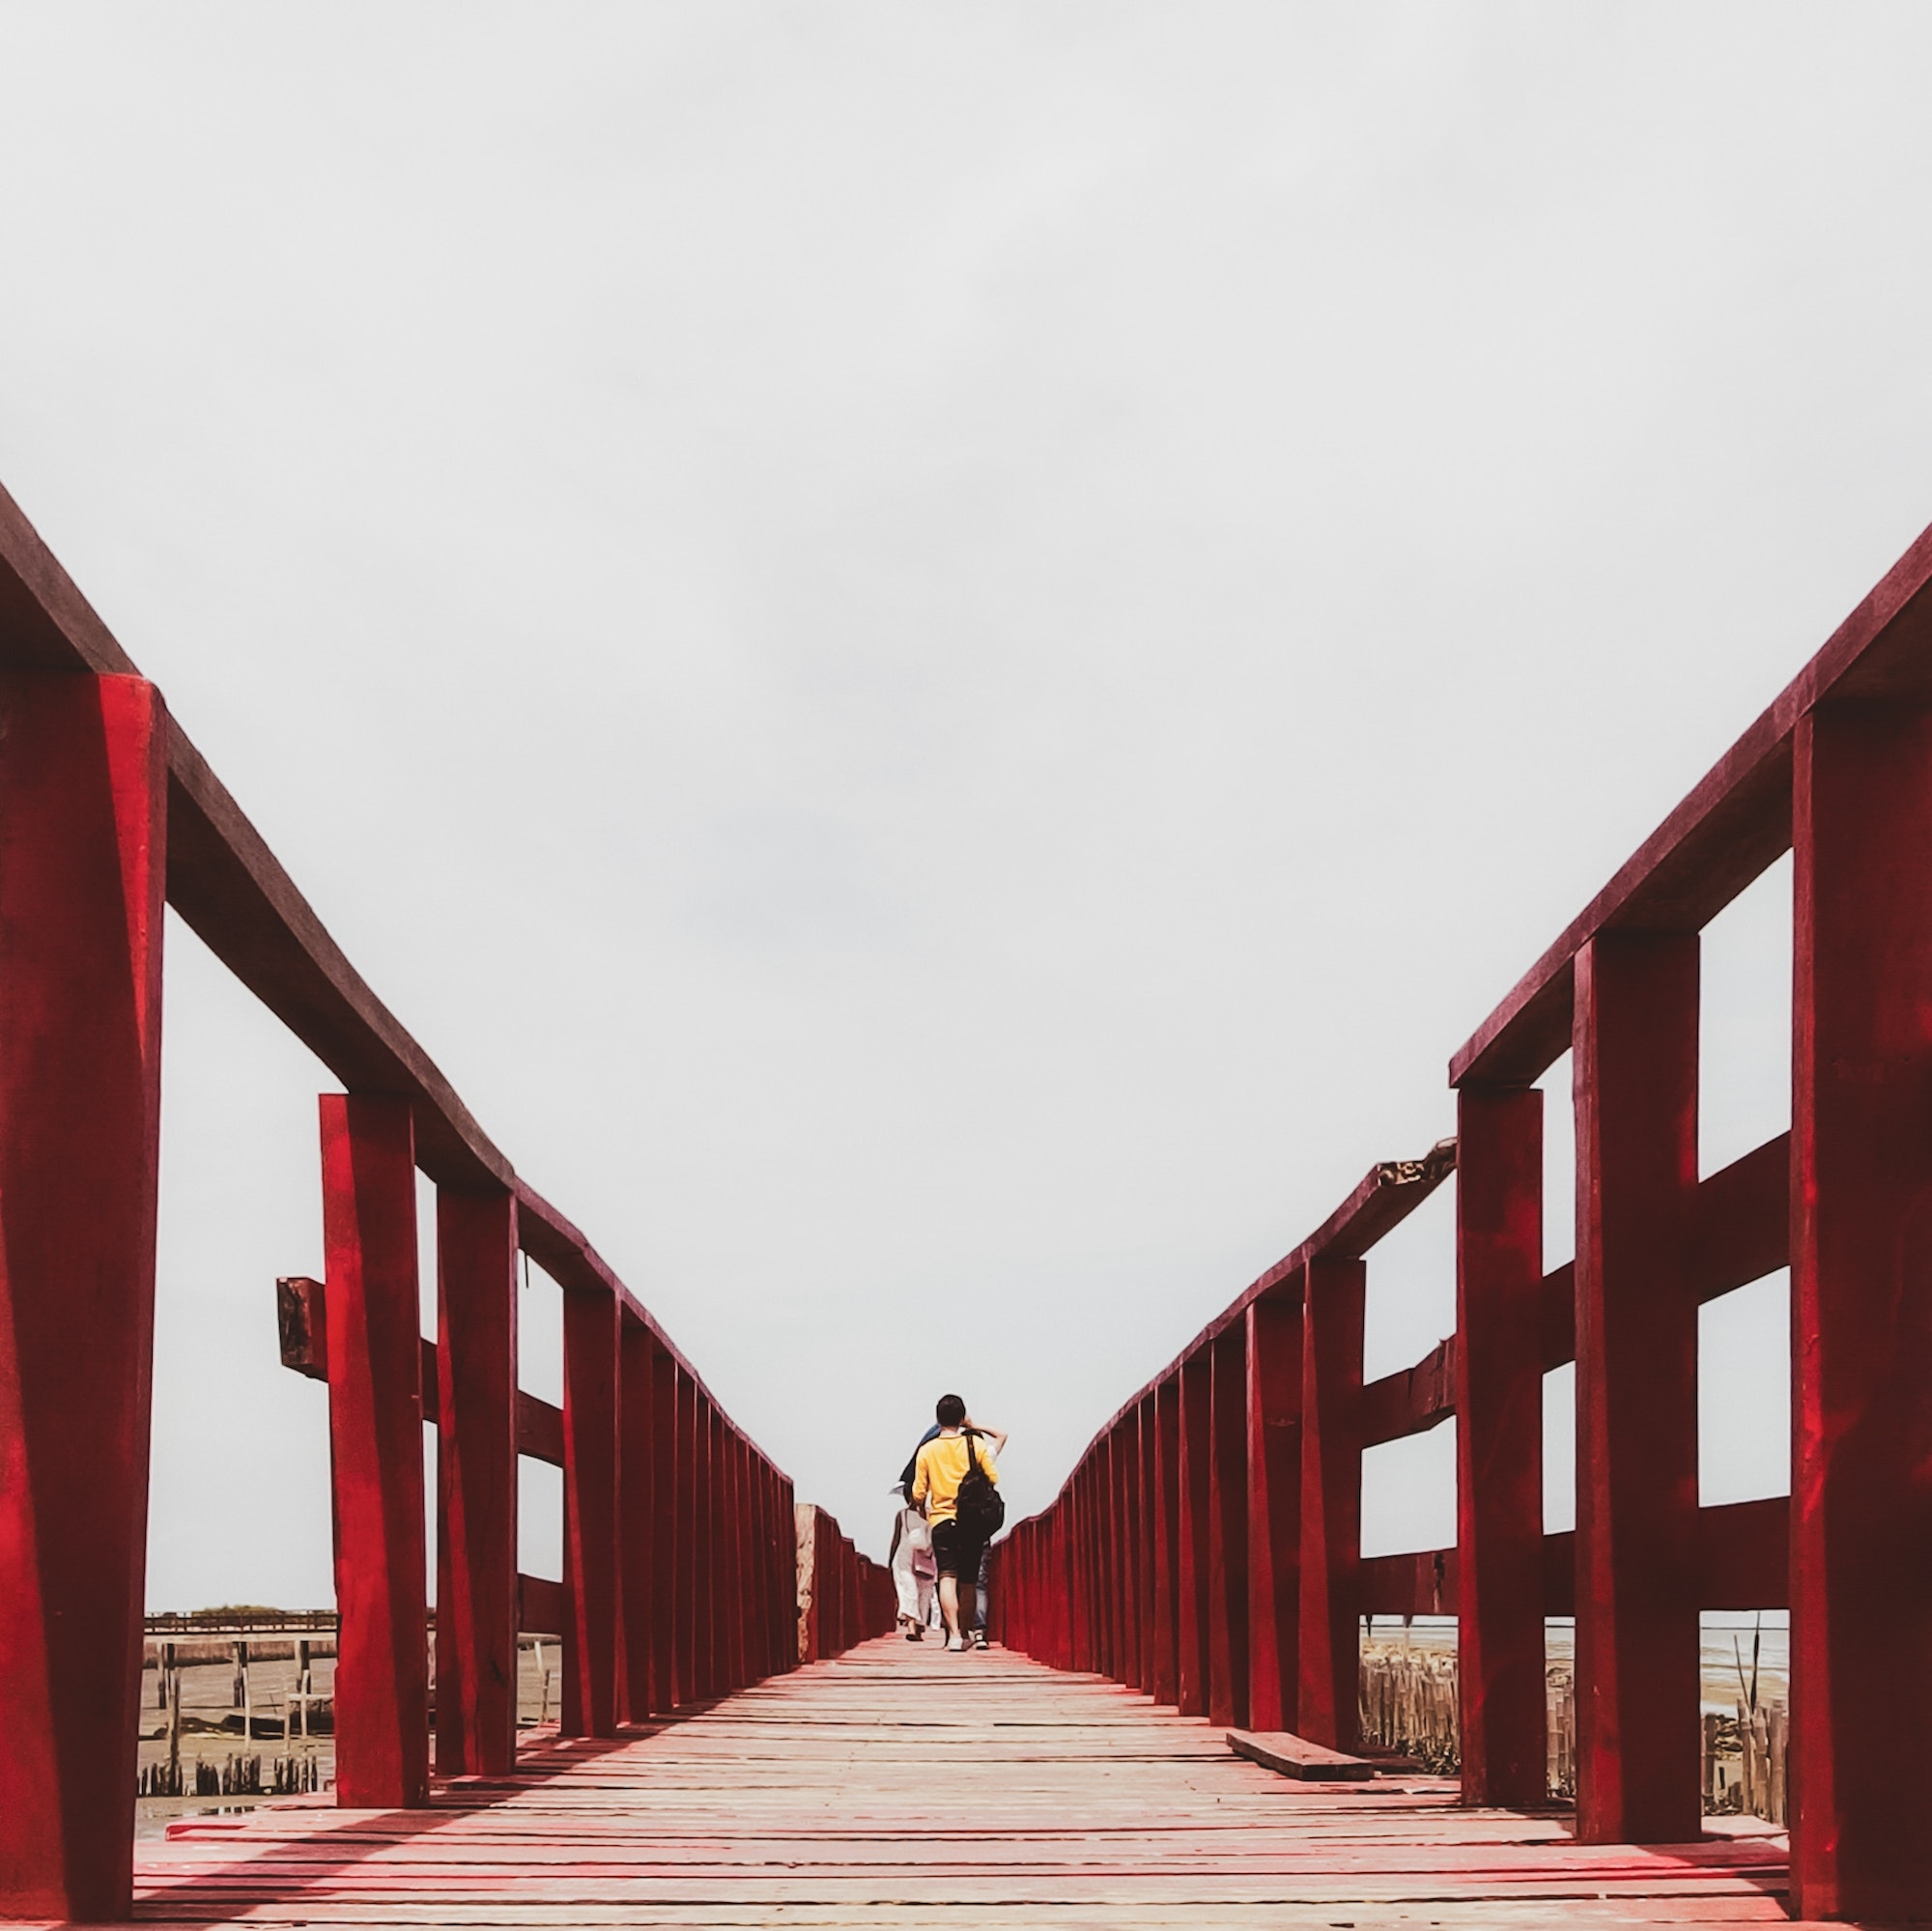
Street photography is a captivating genre that captures the essence of urban life through candid and spontaneous moments. While taking a great street photo is an art in itself, editing these images can elevate them to new heights, bringing out the mood, emotion, and story behind each shot. In this comprehensive guide, we will explore the best practices, techniques, and tools for editing street photography. Whether you are a beginner or an experienced photographer, this guide will help you refine your editing skills and create stunning street photographs.
Introduction to Street Photography Editing
Editing is a crucial part of the street photography process. It allows you to enhance your images, correct any flaws, and add your unique touch. Editing can transform a good photo into a great one by emphasizing the elements that matter most—whether it’s the play of light and shadow, the vibrancy of colors, or the raw emotions of the subjects.
Preparing Your Workflow
Before diving into the editing process, it's important to have an organized workflow. Here are some steps to set up an efficient workflow:
Organizing Your Photos
Import and Backup:
- Import your photos from your camera or smartphone to your computer.
- Create a backup on an external hard drive or cloud storage to ensure you don’t lose any valuable shots.
Organize into Folders:
- Sort your photos into folders based on dates, locations, or events. This will make it easier to find specific images later.
Rating and Selecting:
- Use a rating system to mark your best shots. Most editing software, like Adobe Lightroom, allows you to rate your photos using stars or flags.
Preparing for Editing
Calibrate Your Monitor:
- Ensure your monitor is calibrated to display accurate colors and brightness. This will help you make precise edits.
Choose the Right Software:
- Select an editing software that suits your needs. Adobe Lightroom and Photoshop are popular choices for street photography, but there are many other options available.
Essential Editing Tools and Software
There are numerous editing tools and software available, each offering a range of features. Here are some of the most popular options:
Adobe Lightroom
Lightroom is a favorite among photographers for its comprehensive editing tools and user-friendly interface. Key features include:
- Non-Destructive Editing: Allows you to make adjustments without altering the original file.
- Advanced Color Grading: Provides powerful tools for adjusting colors and tones.
- Batch Processing: Enables you to apply edits to multiple photos simultaneously.
Adobe Photoshop
Photoshop is known for its advanced editing capabilities. It’s ideal for more complex edits and retouching. Key features include:
- Layers and Masks: Allows for precise control over different elements of your image.
- Content-Aware Tools: Helps remove unwanted objects seamlessly.
- Advanced Retouching: Offers tools for detailed retouching and enhancement.
Other Editing Software
- Capture One: Known for its exceptional color grading and tethered shooting capabilities.
- Affinity Photo: A cost-effective alternative to Photoshop with a wide range of editing tools.
- Darktable: A free, open-source software that offers a robust set of editing features.
Basic Editing Techniques
Cropping and Straightening
Cropping helps you frame your subject better and eliminate distractions. Here are some tips:
- Rule of Thirds: Align your subject along the gridlines or at the intersections to create a balanced composition.
- Aspect Ratio: Choose an aspect ratio that complements your composition. Common ratios are 4:3, 3:2, and 1:1.
- Straightening: Use the straightening tool to correct any tilts and ensure your horizons are level.
Exposure and Contrast
Adjusting exposure and contrast can significantly impact the overall look of your photo:
- Exposure: Adjust the exposure slider to brighten or darken your image.
- Contrast: Increase contrast to make your image pop, or decrease it for a softer look.
- Highlights and Shadows: Fine-tune the highlights and shadows to recover details in bright and dark areas.
Color Correction
Color correction is essential for achieving natural and accurate colors:
- White Balance: Adjust the white balance to correct any color casts and ensure your image has a natural tone.
- Saturation and Vibrance: Increase saturation for vivid colors or vibrance for a more subtle enhancement.
- Color Grading: Use color grading tools to add a specific mood or tone to your image.
Sharpening and Noise Reduction
Enhancing details and reducing noise can improve the clarity of your photo:
- Sharpening: Use the sharpening tool to enhance the details and textures in your image.
- Noise Reduction: Apply noise reduction to minimize grain and improve image quality, especially in low-light photos.
Advanced Editing Techniques
Dodging and Burning
Dodging and burning are techniques used to lighten or darken specific areas of your image:
- Dodging: Lighten areas to draw attention to your subject or add depth.
- Burning: Darken areas to create contrast and emphasize certain elements.
Using Layers and Masks
Layers and masks in Photoshop allow for more precise and controlled editing:
- Adjustment Layers: Apply adjustments to specific layers without affecting the entire image.
- Layer Masks: Use masks to selectively apply adjustments to certain areas.
Working with Presets and LUTs
Presets and LUTs (Lookup Tables) can streamline your editing process and help you achieve consistent results:
- Lightroom Presets: Apply presets to quickly enhance your photos with predefined settings.
- LUTs: Use LUTs to apply color grading effects for a cinematic look.
Advanced Retouching
Advanced retouching techniques can help you refine your images further:
- Frequency Separation: Separate textures and colors to retouch skin and other details without losing texture.
- Healing Brush and Clone Stamp: Remove unwanted elements and blemishes with precision.
Creative Editing Styles
Street photography can be edited in various creative styles to convey different moods and emotions. Here are some popular styles:
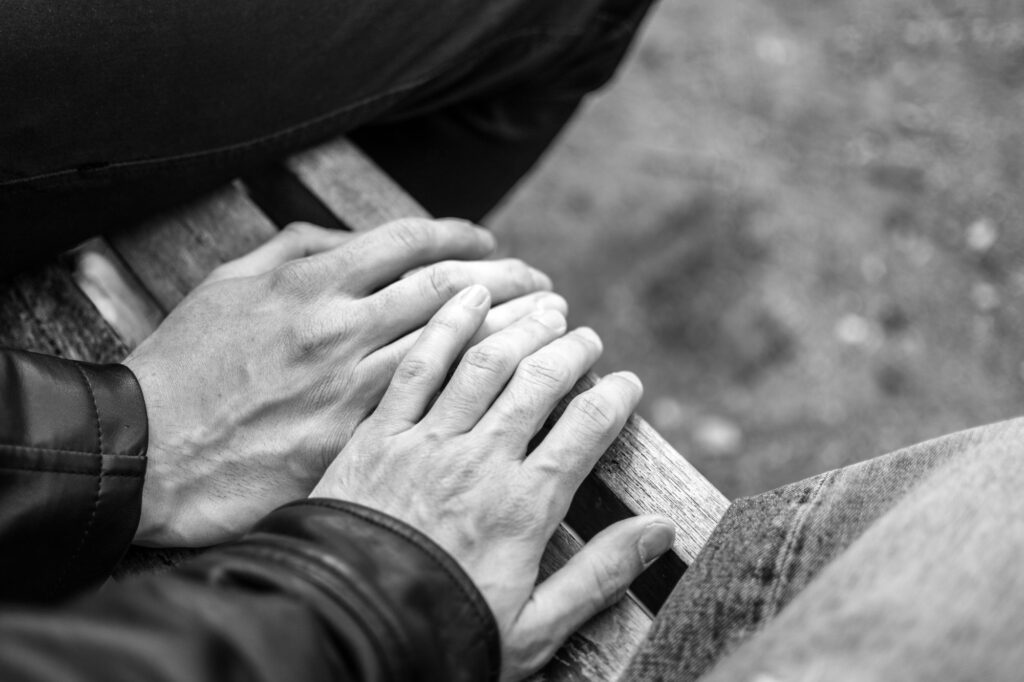
Black and White
Black and white street photography is timeless and can add a dramatic effect to your images:
- Convert to Black and White: Use the black and white conversion tool to remove colors.
- Adjust Tones: Enhance the contrast and adjust the tones to bring out details and create depth.
Vintage Look
A vintage look can add a nostalgic feel to your street photos:
- Add Warm Tones: Use color grading tools to add warm, sepia tones.
- Apply Grain: Add grain to mimic the look of film photography.
High Contrast
High contrast editing can create striking and impactful images:
- Increase Contrast: Boost the contrast to emphasize shadows and highlights.
- Enhance Details: Use sharpening and clarity tools to bring out textures.
Maintaining Authenticity in Street Photography
While editing can enhance your photos, it’s important to maintain the authenticity and integrity of your street photography. Here are some tips:
Keep It Real
- Avoid Over-Editing: Strive for a natural look and avoid excessive adjustments that make your photos look unrealistic.
- Preserve Context: Ensure that your edits don’t alter the original context or message of the photo.
Ethical Considerations
- Respect Privacy: Be mindful of the privacy and dignity of the people you photograph.
- Transparency: Be transparent about your editing process and avoid misleading representations.
Common Mistakes to Avoid
Over-Saturation
- Avoid Excessive Saturation: Over-saturation can make your photos look unnatural and garish. Use saturation and vibrance sliders judiciously.
Over-Sharpening
- Balance Sharpness: Over-sharpening can introduce artifacts and make your images look harsh. Apply sharpening sparingly and check the results at 100% zoom.
Inconsistent White Balance
- Maintain Consistency: Ensure that the white balance is consistent across your photos to maintain a cohesive look.
Post-Processing Tips and Tricks
Develop a Routine
- Consistency: Develop a consistent editing routine to streamline your workflow and achieve uniform results.
Use Keyboard Shortcuts
- Efficiency: Learn and use keyboard shortcuts to speed up your editing process.
Create Custom Presets
- Save Time: Create and save custom presets for frequently used adjustments to save time and maintain consistency.
Regularly Update Your Software
- Stay Current: Keep your editing software updated to take advantage of new features and improvements.
To End Things
Editing street photography is both an art and a science. It requires a combination of technical skills and creative vision to enhance your images and tell compelling stories. By following the techniques and tips outlined in this guide, you can refine your editing skills and create stunning street photographs that capture the essence of urban life. Remember, the key to great editing is to maintain the authenticity of your photos while adding your unique touch. So, grab your camera, hit the streets, and let your creativity shine through your edits. Happy shooting!